
This repair applies to the Toyota Land Cruiser 120, also known internationally as the Land Cruiser Prado 120 (J120), with the 1KD-FTV engine.
Symptoms
The vehicle drove and shifted normally, but struggled to maintain speed under load. I noticed this especially on hills while towing a trailer.
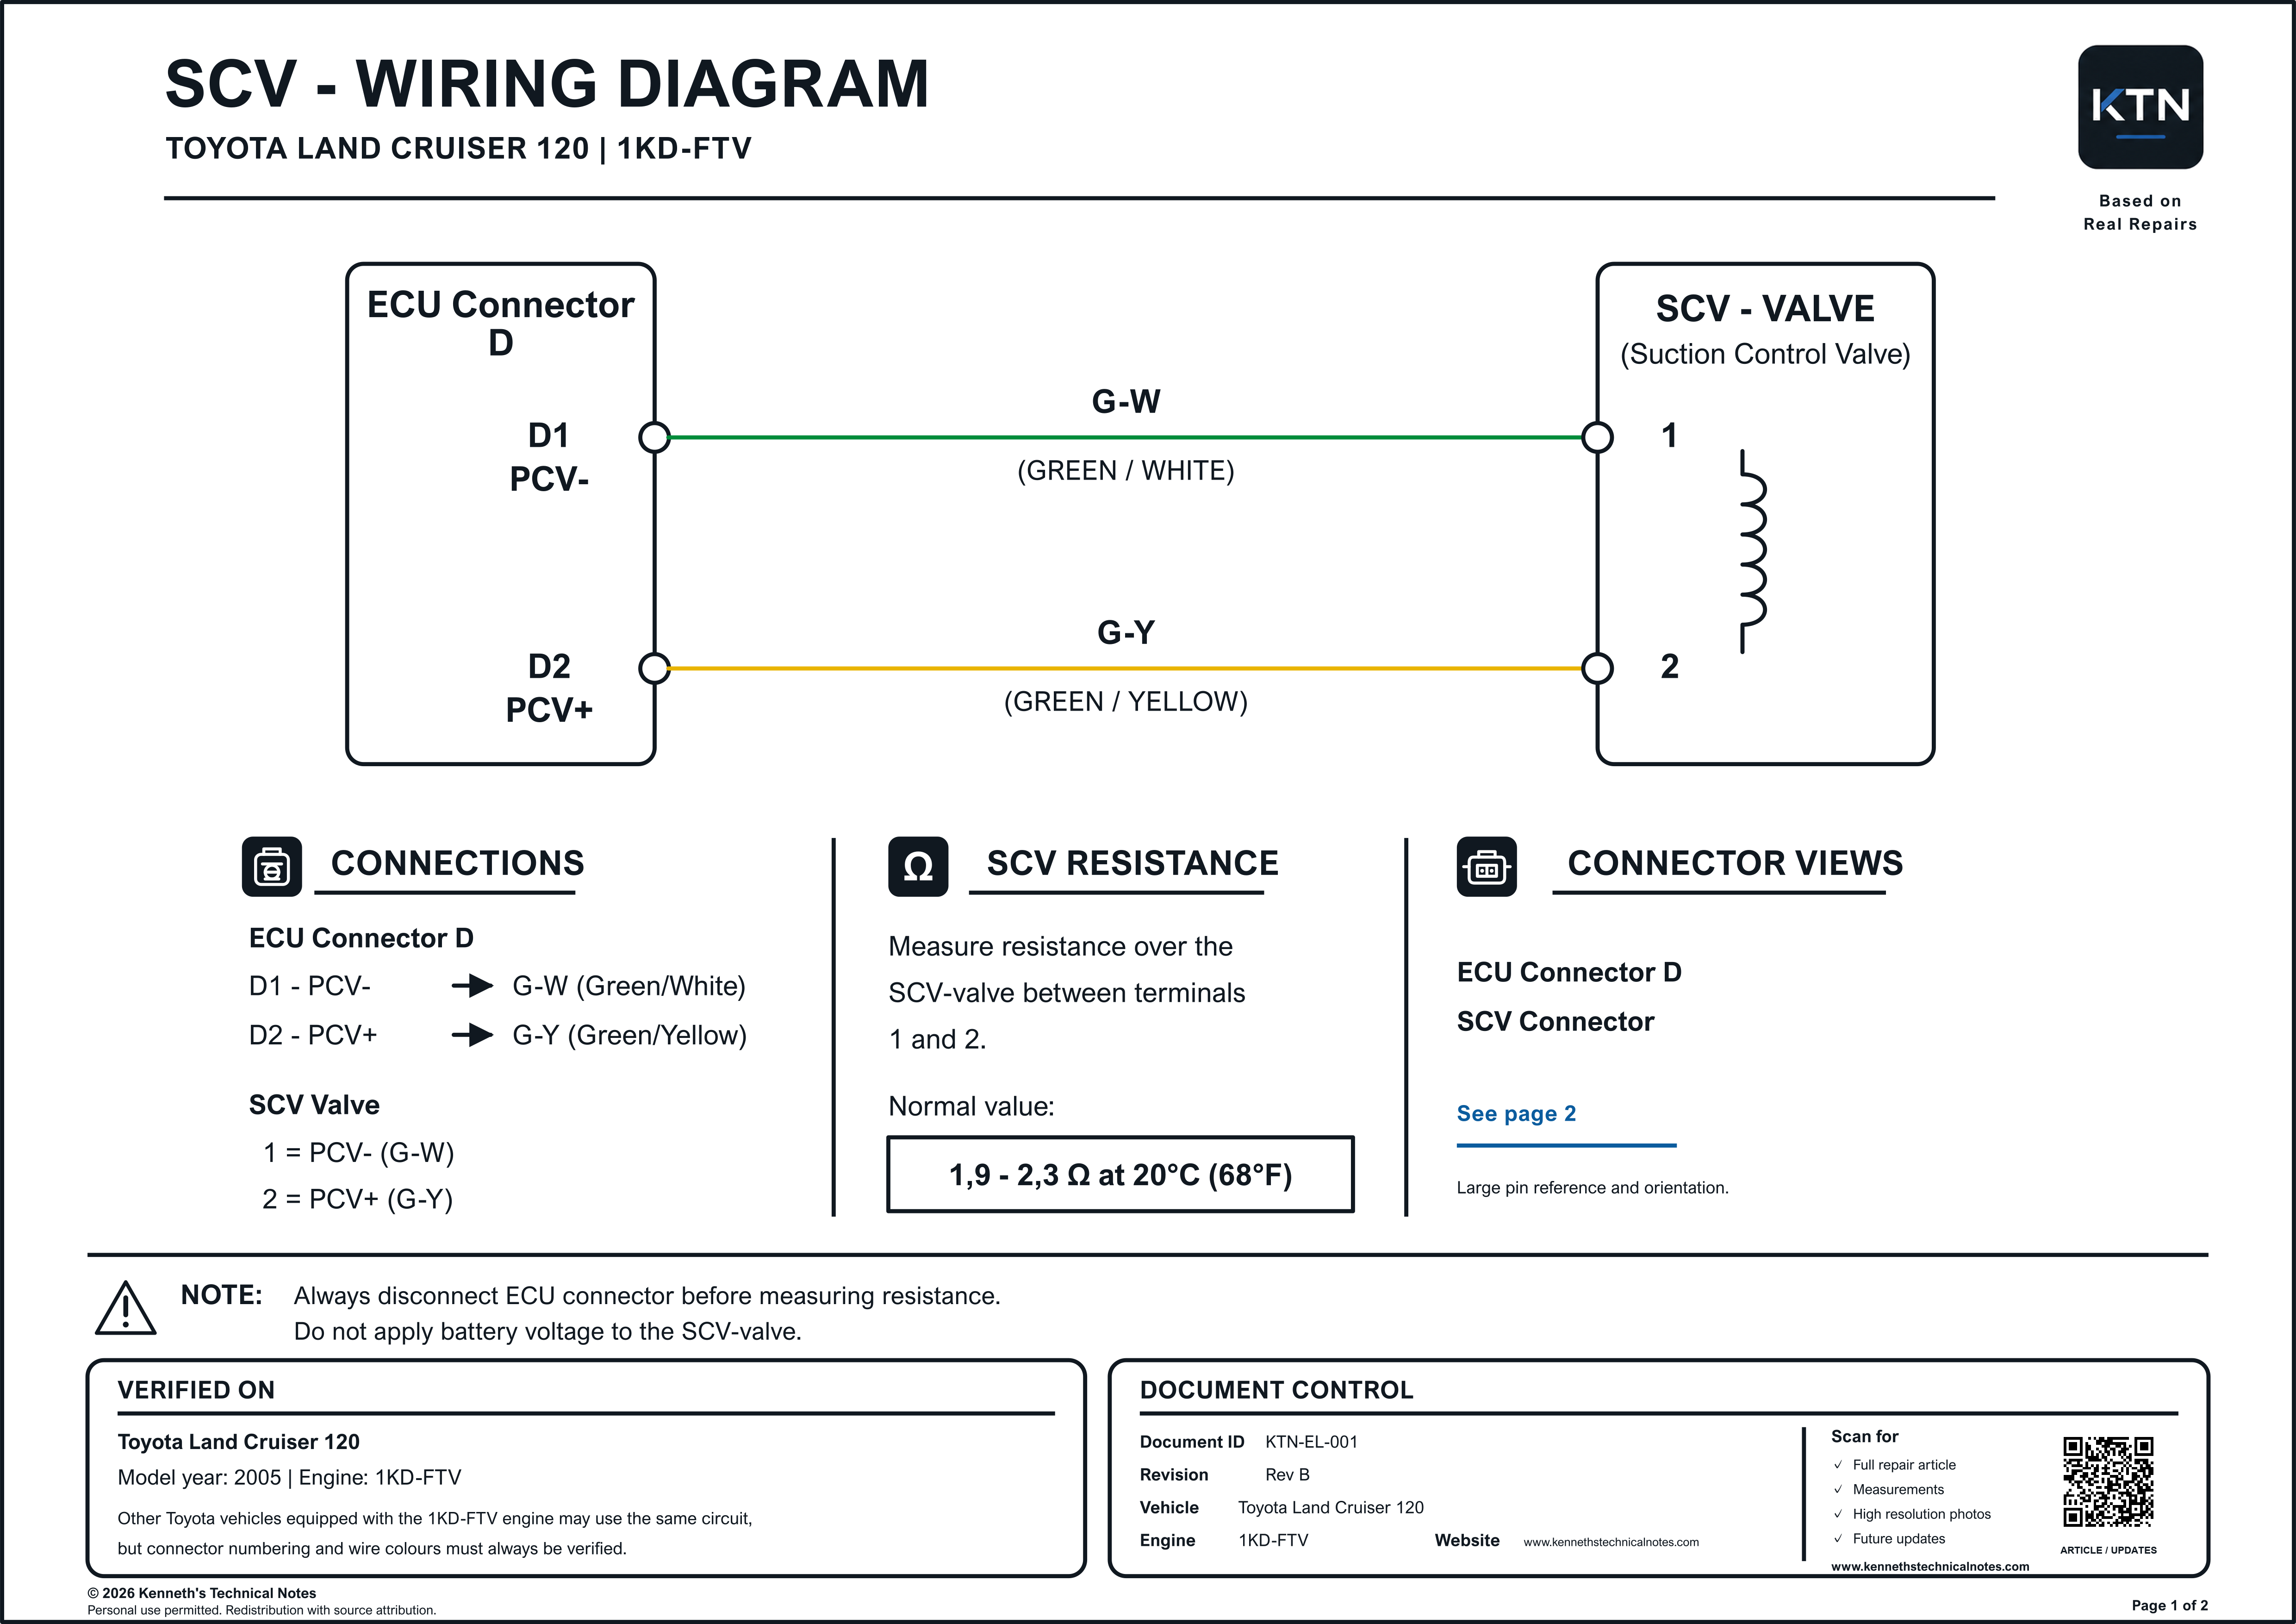
The wiring diagram below shows the SCV circuit checked during the diagnosis.
Initial suspicion
The suction control valve (SCV) was initially suspected, as it is a known cause of reduced engine power on the 1KD-FTV. I replaced the valve, but the engine would not start after the replacement.
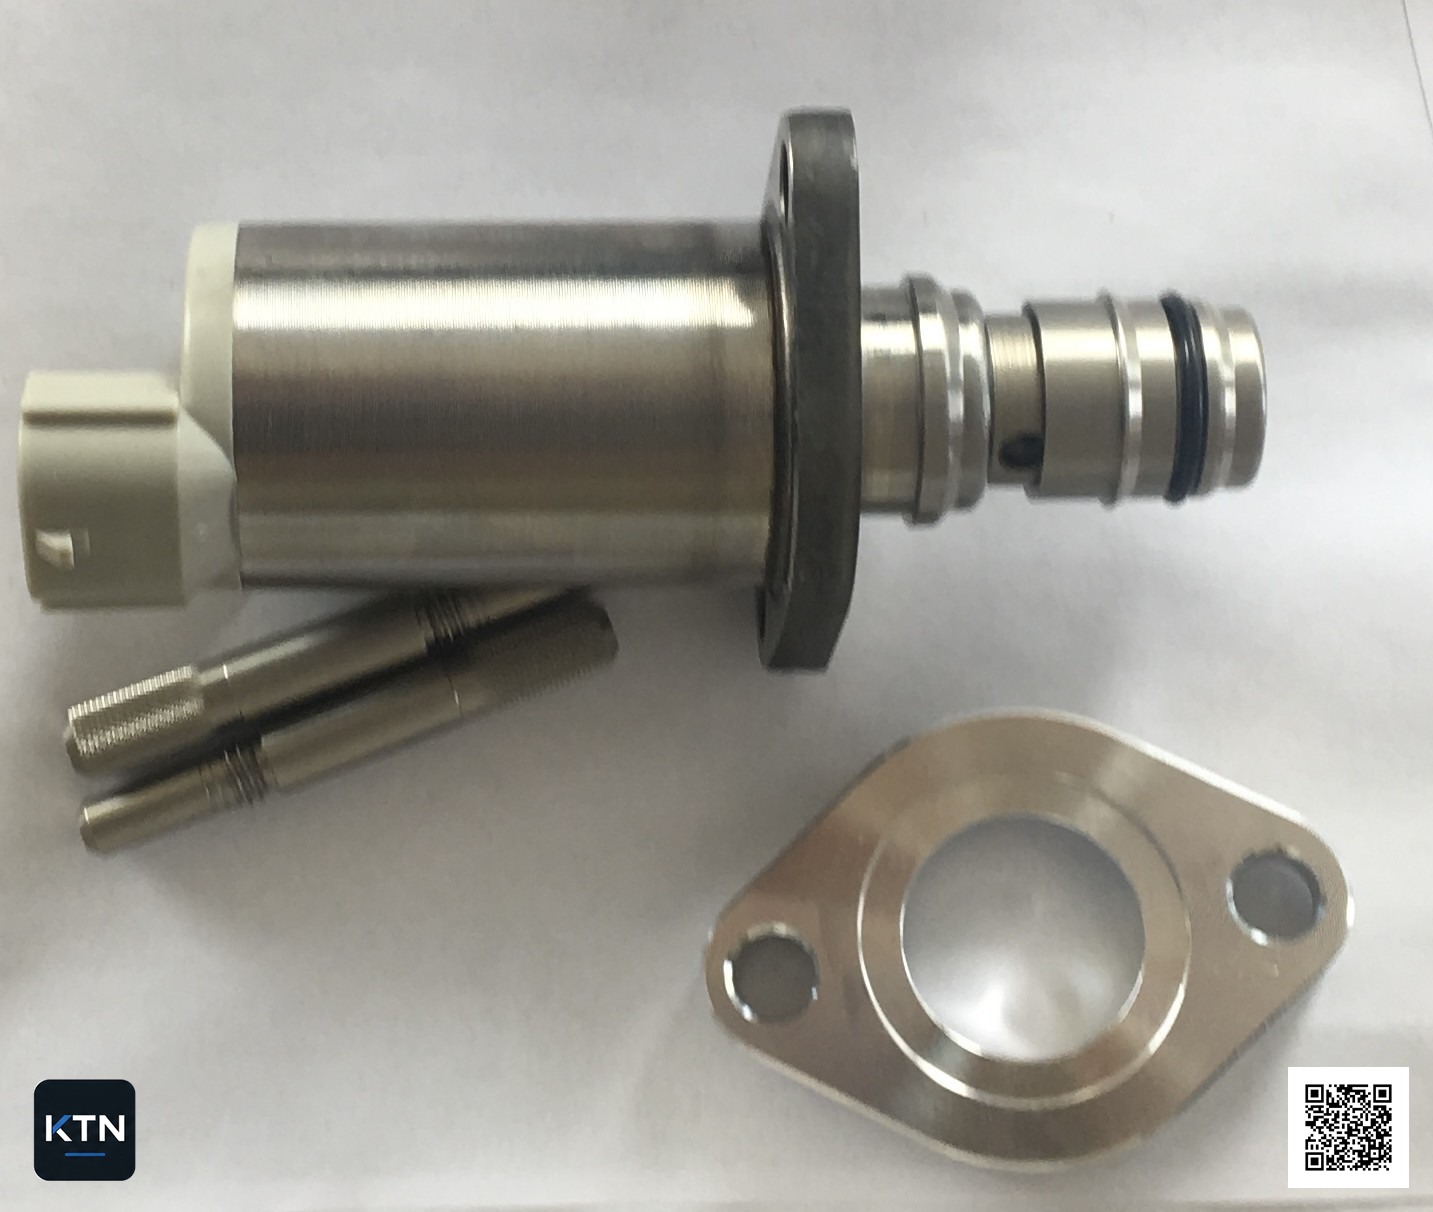
SCV replaced but the problem remains?
If the SCV has already been replaced but the engine still has reduced power or the original problem remains, check the wiring harness and connectors between the ECU and the SCV before replacing more parts. A poor connection or an intermittent or developing wiring fault may behave differently from a complete open circuit.
In the repair documented here, a complete open circuit was measured after the SCV had been replaced. That measurement does not establish whether the earlier loss of power was caused by an intermittent or developing wiring fault, but the SCV circuit is a relevant check when replacing the valve does not solve the problem.
Inspection and fault code
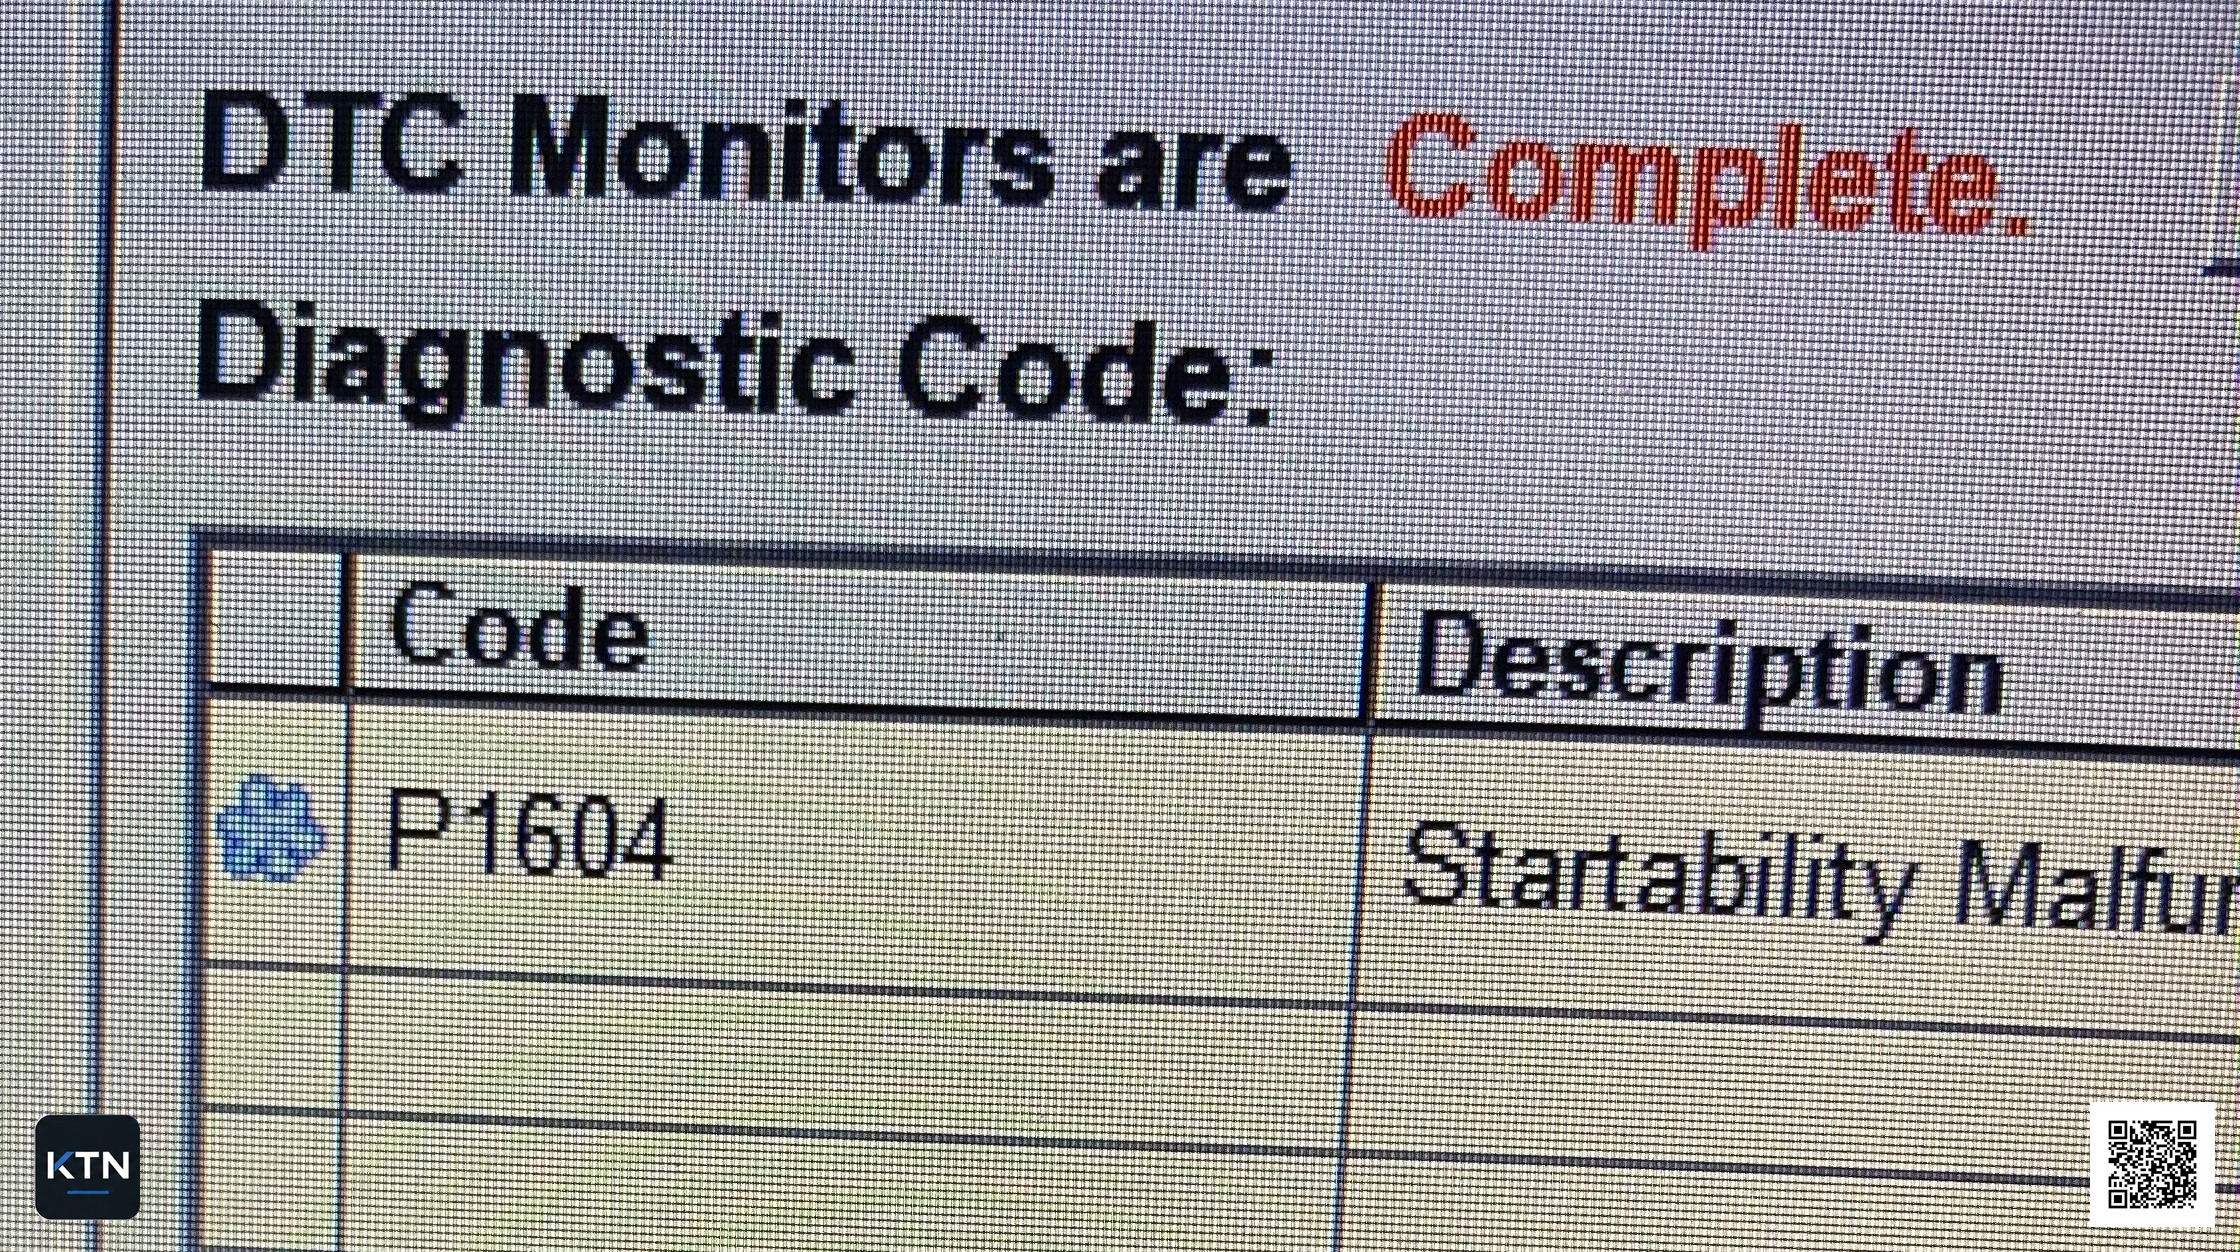
Because the engine would not start, I read the fault codes. Techstream displayed P1604 – Startability Malfunction. The code described the starting problem, but not the underlying cause.
I therefore decided to check the wiring harness to the SCV. The ECU is located under the dashboard on the passenger side. The glove box and the trim panel below it must be removed to access the connectors.
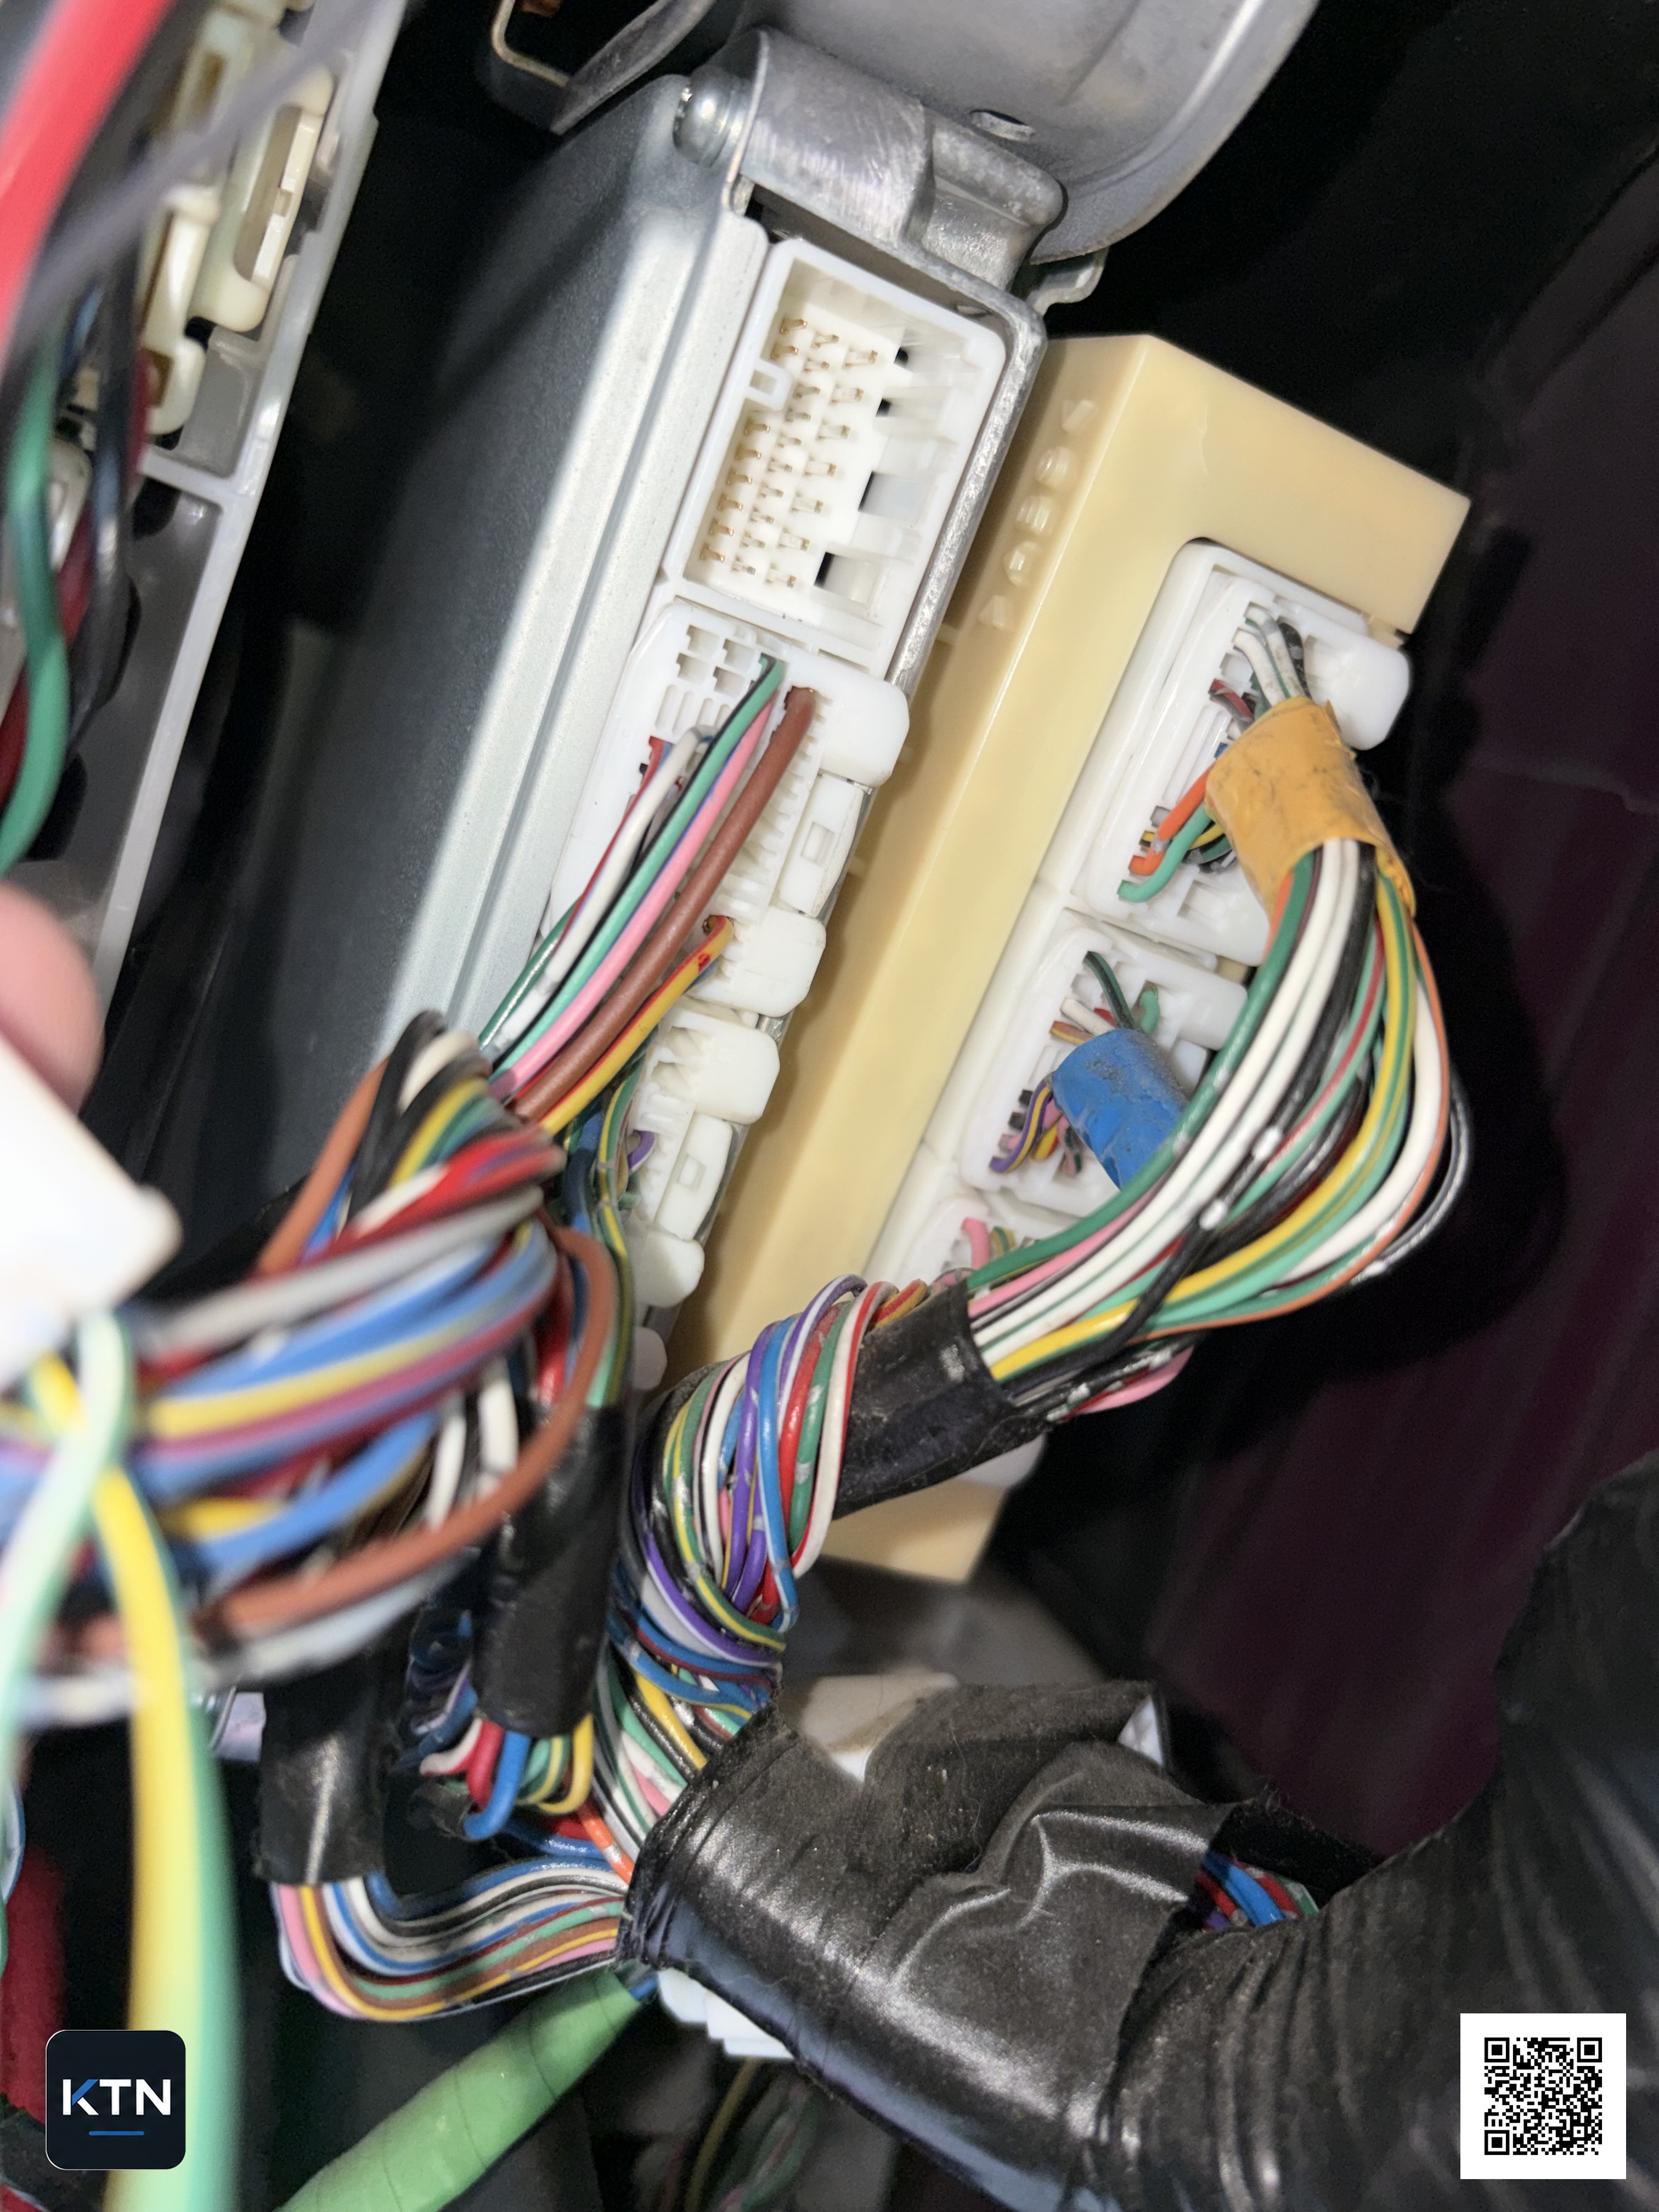
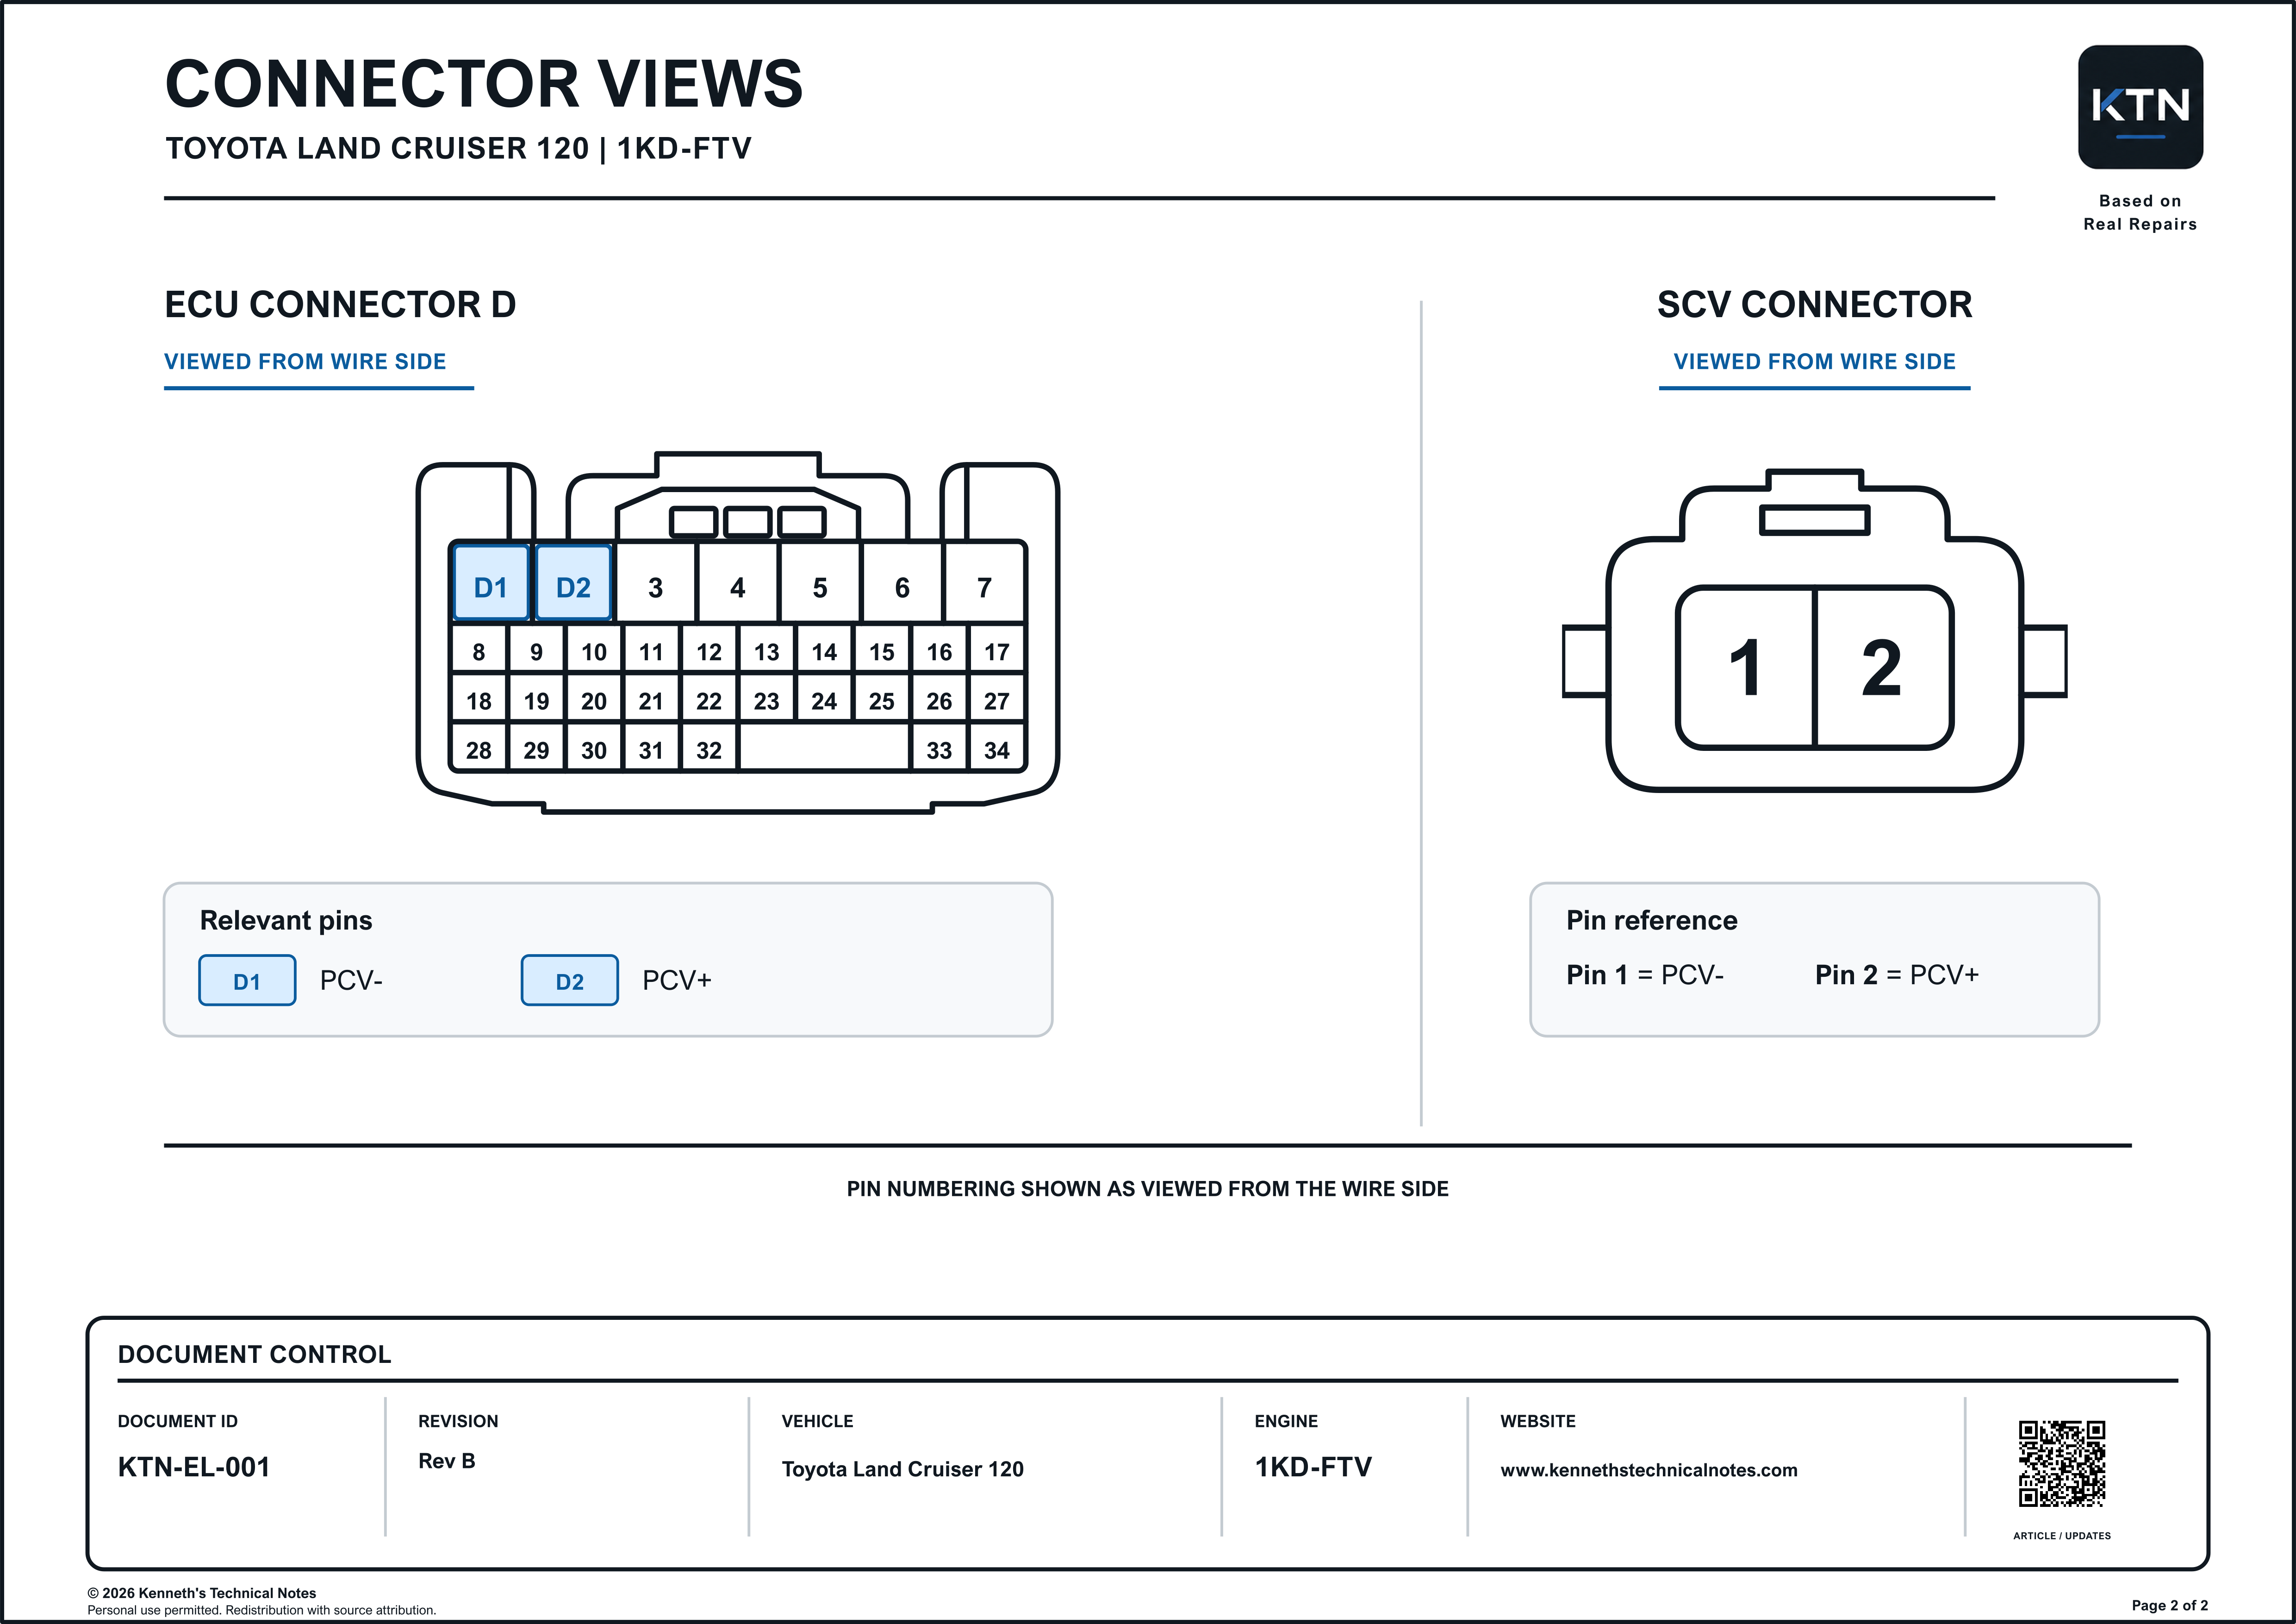
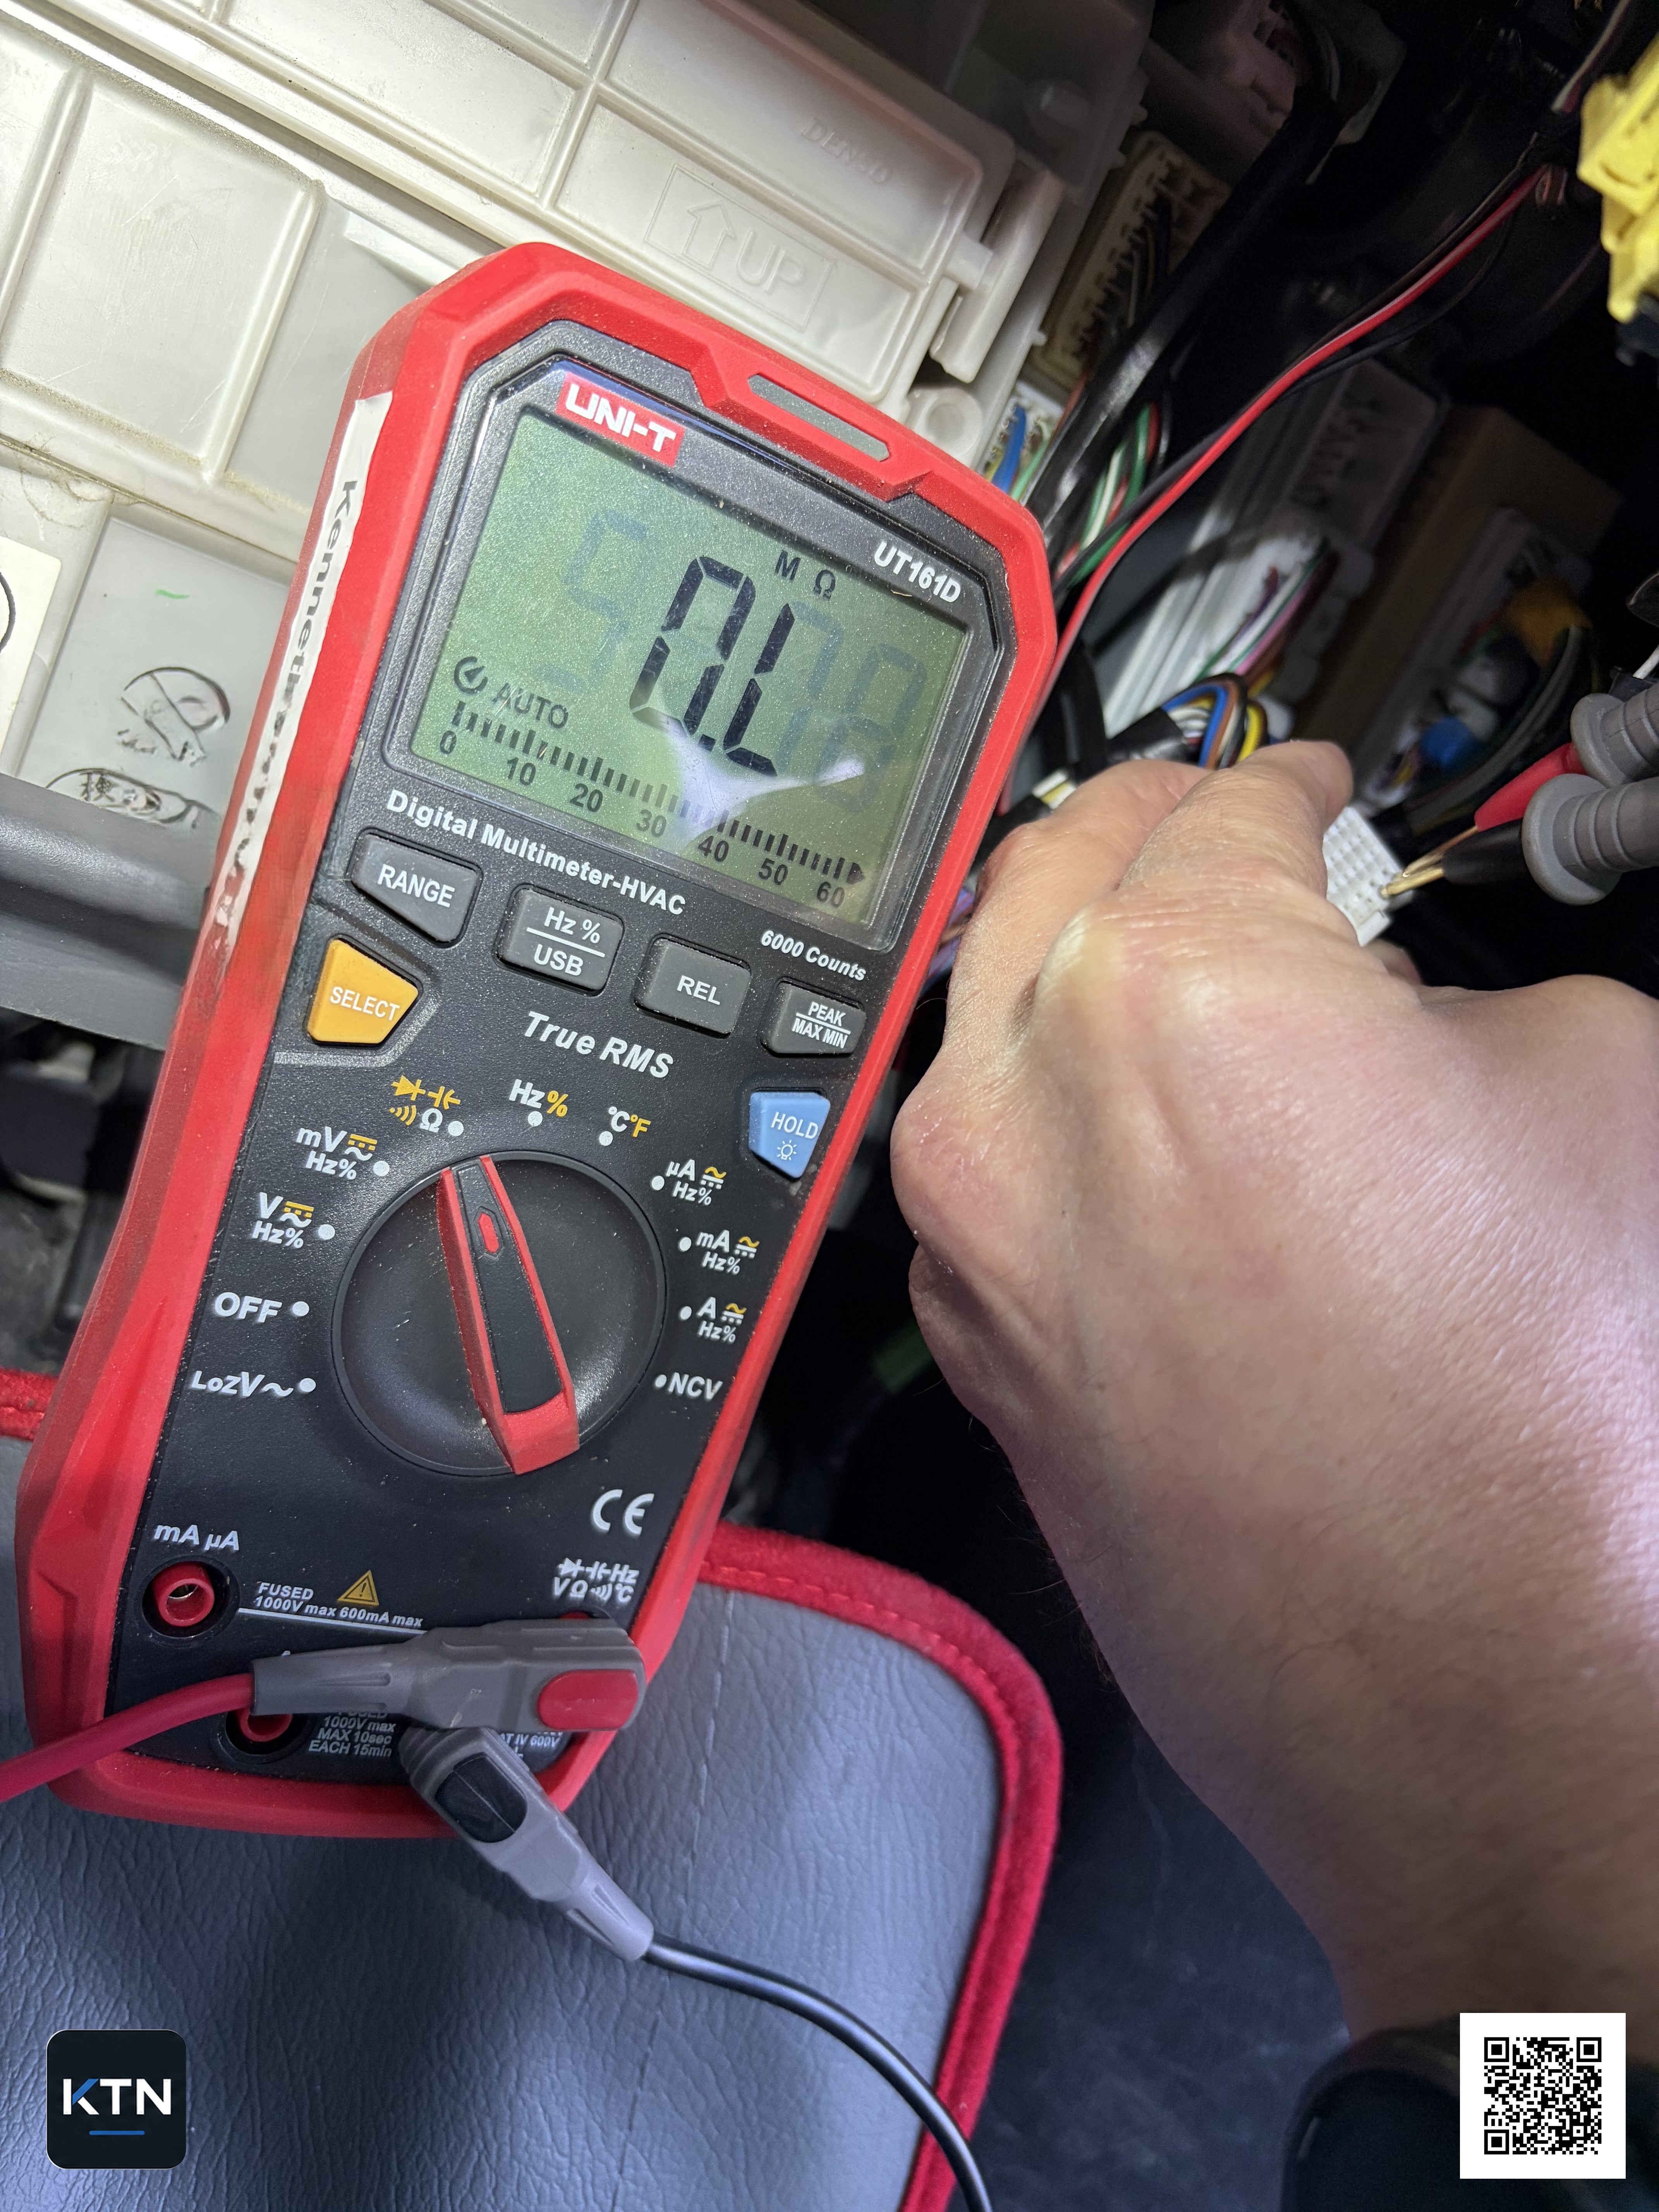
With the ECU connector disconnected, I measured the resistance of the SCV circuit. On my vehicle, the circuit used pin 1 and pin 2 in ECU Connector D. Pin locations and wire colours should always be checked against the correct wiring diagram for the relevant model year.
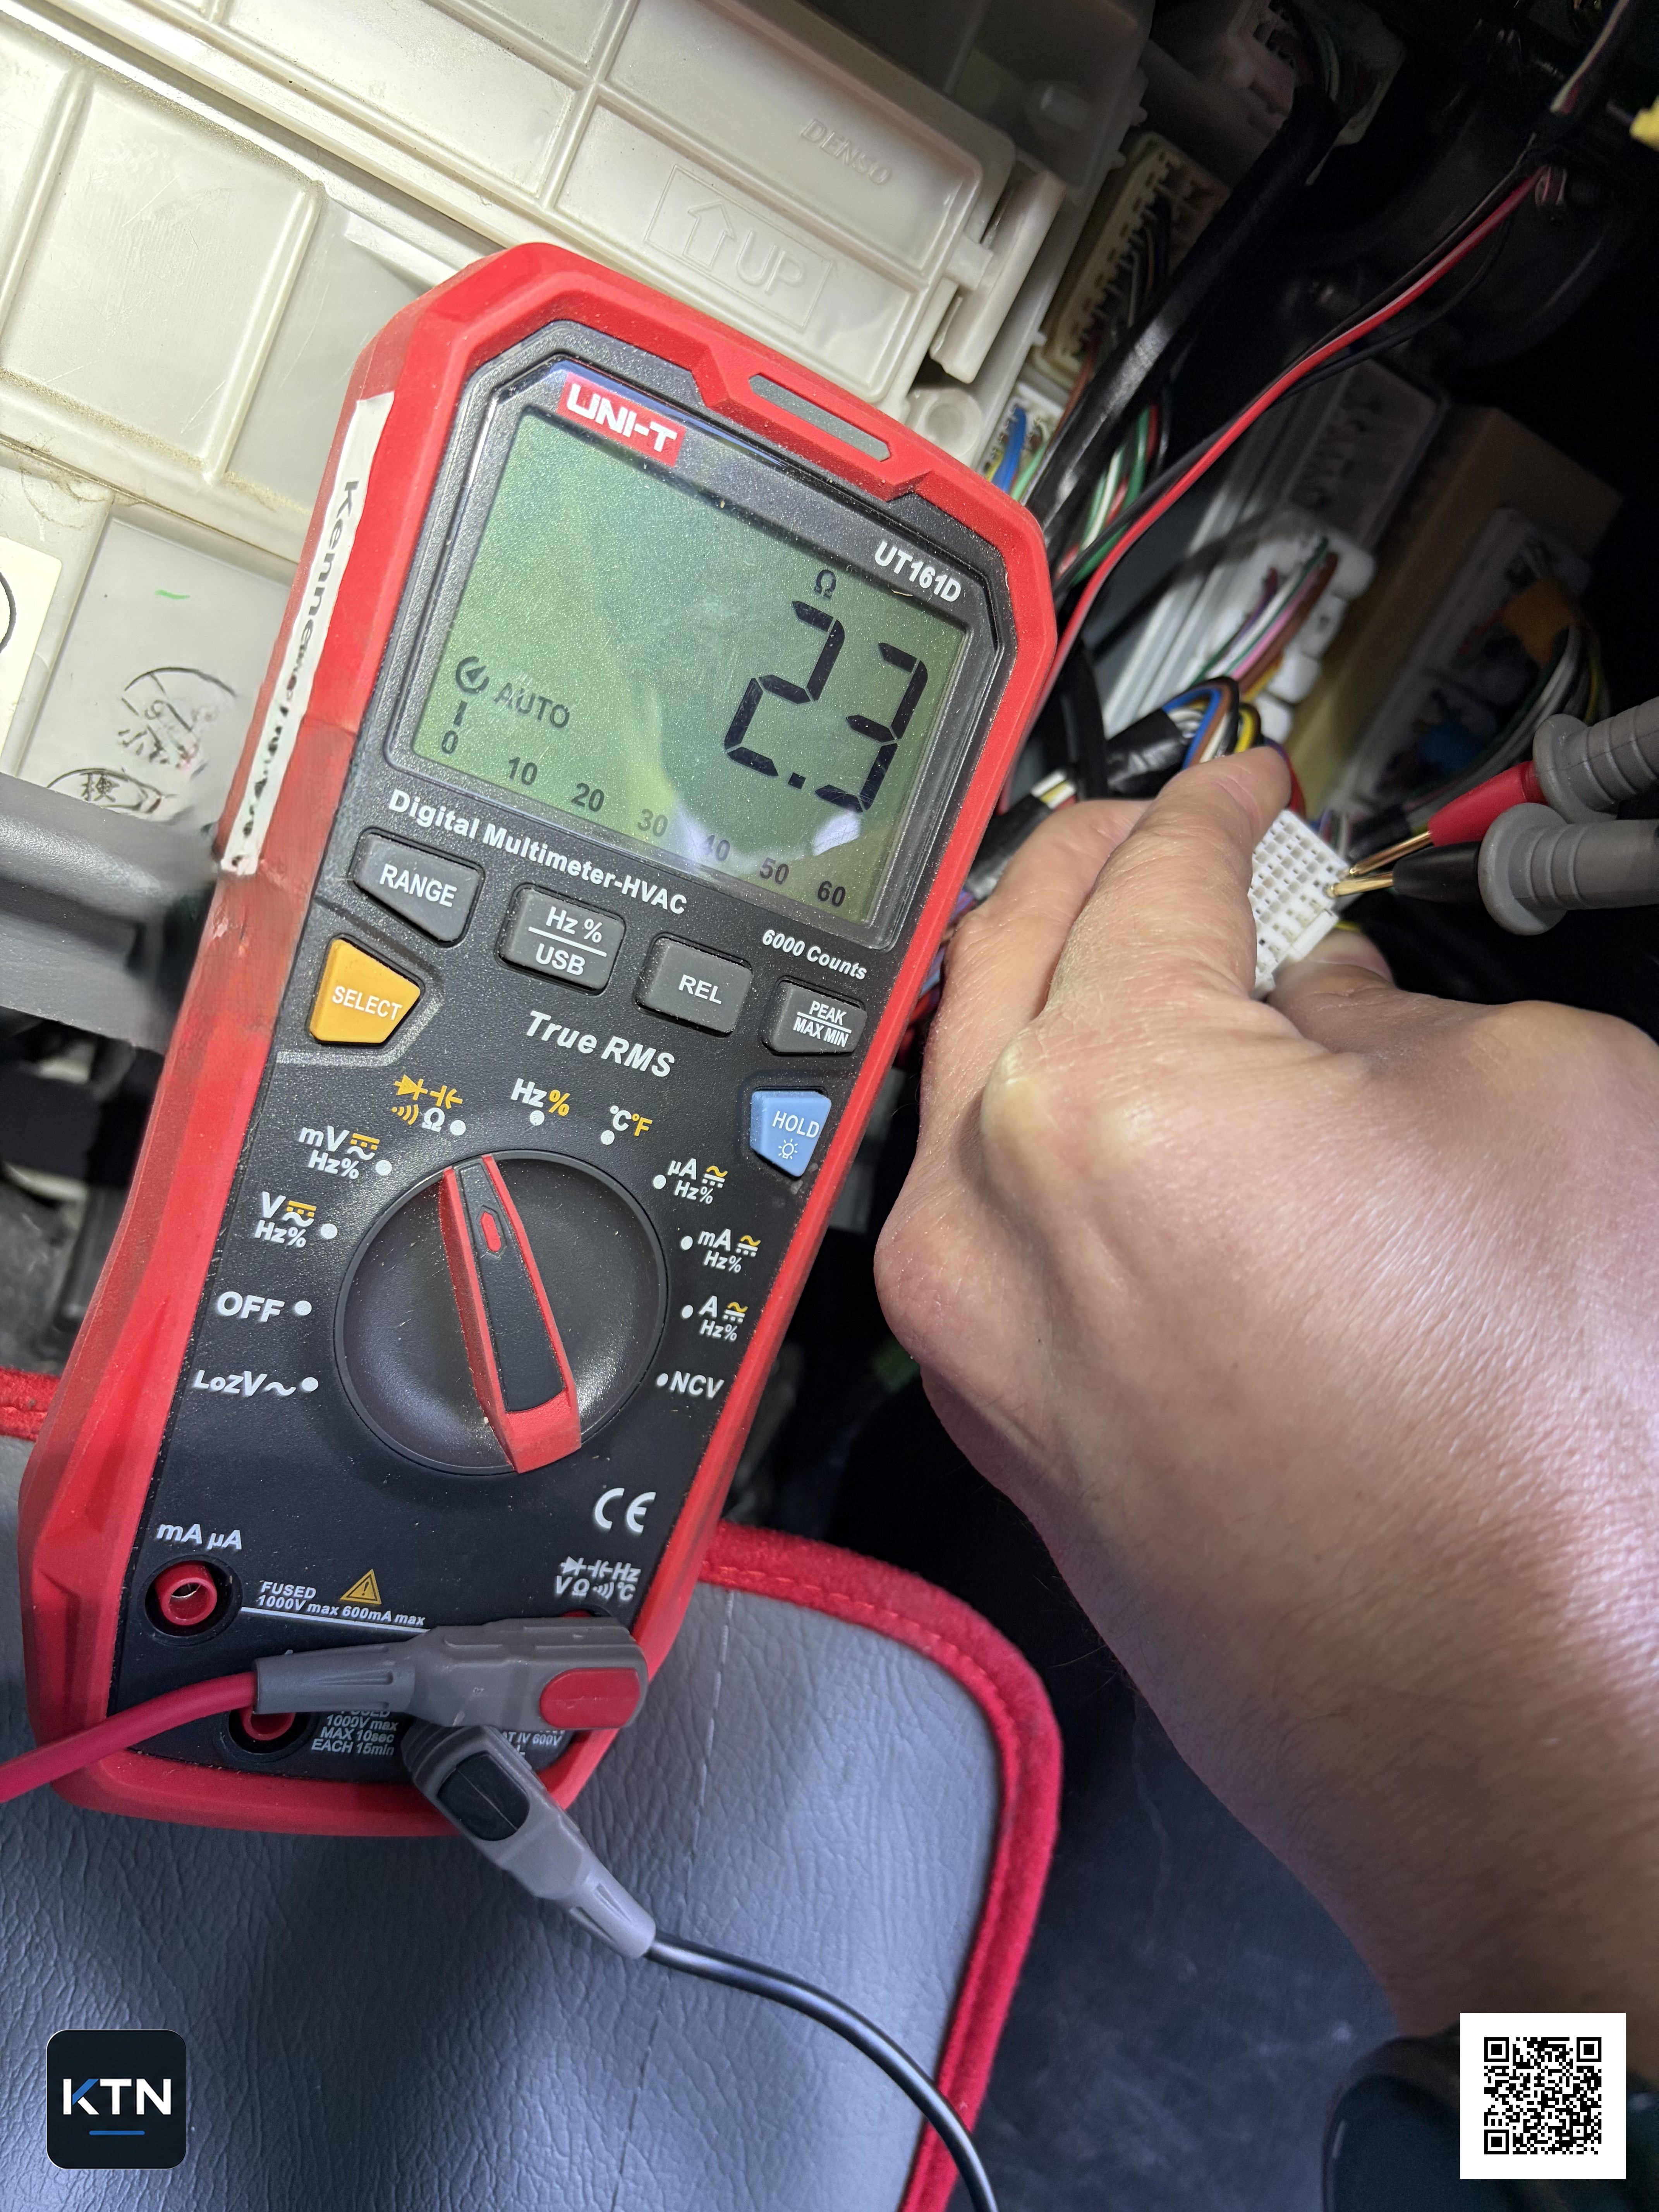
The SCV should measure approximately 1.9–2.3 Ω at 20 °C. The valve itself measured within specification, but the meter indicated an open circuit in the SCV wiring harness. This indicated an open circuit or a poor connection between the ECU and the SCV.
Findings
The measurement confirmed that the SCV had the correct resistance, while the connection through the wiring harness was open. The fault was therefore in the wiring or a connection between the ECU and the valve.
Repair
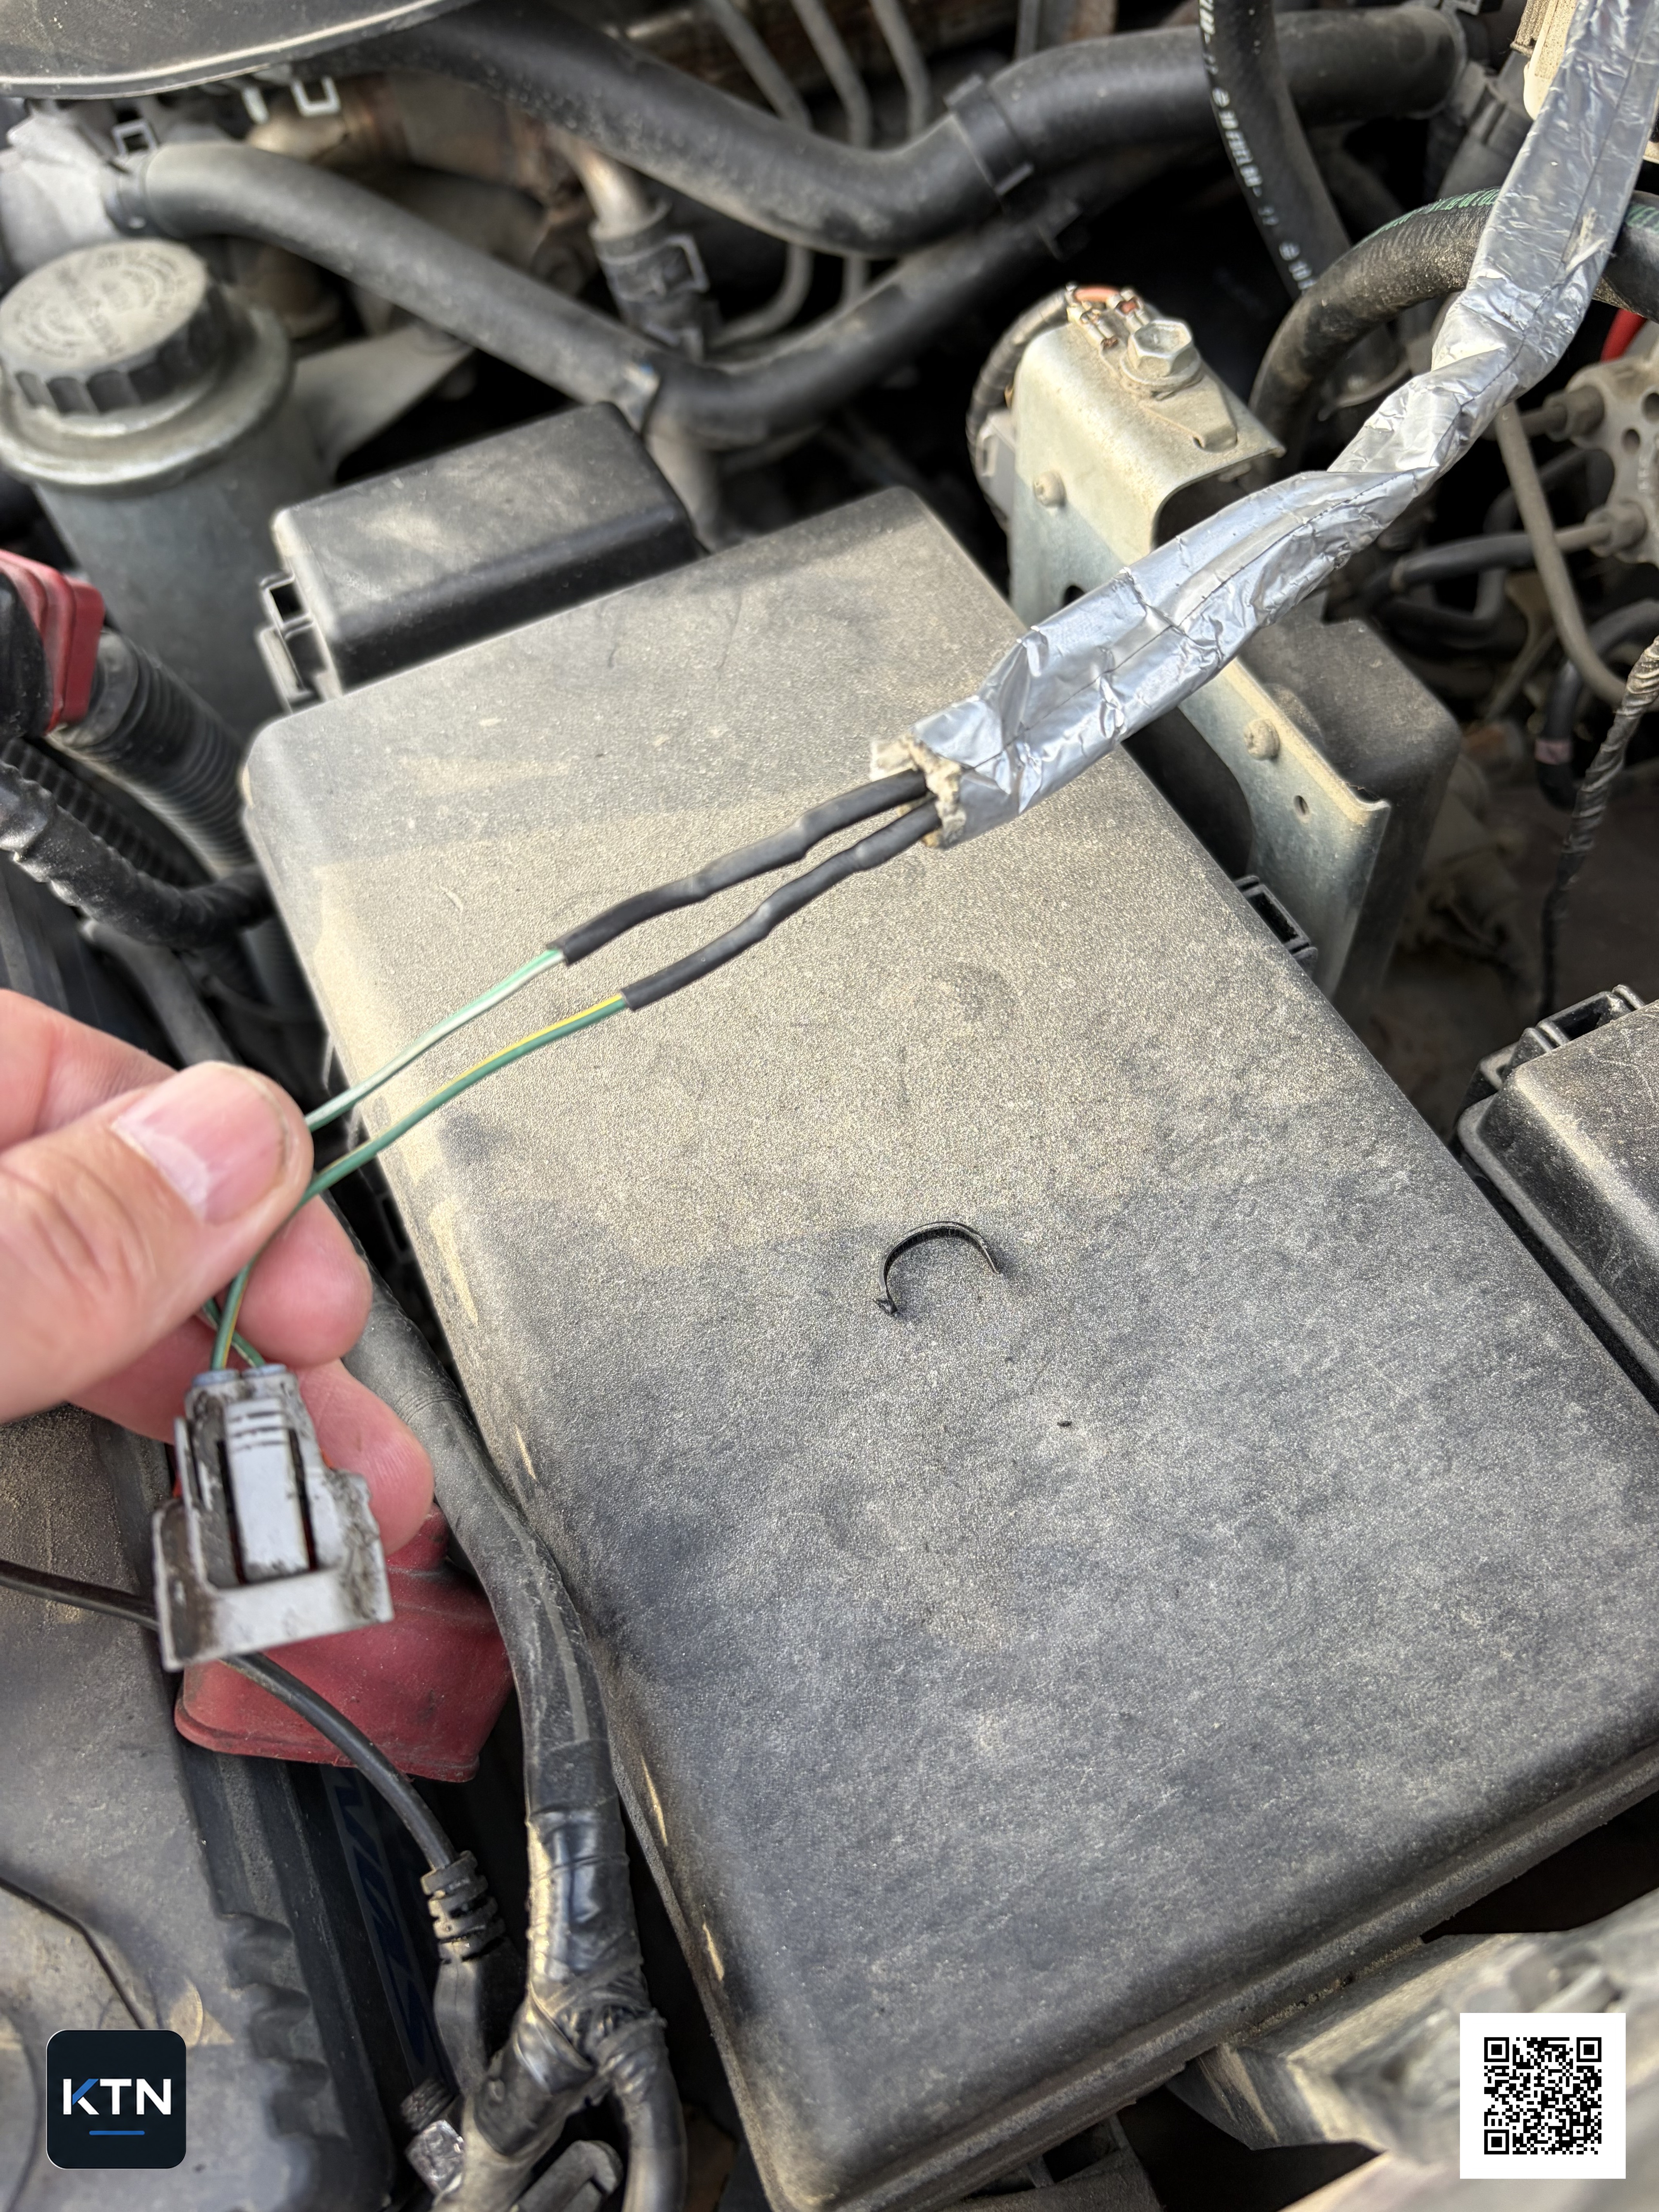
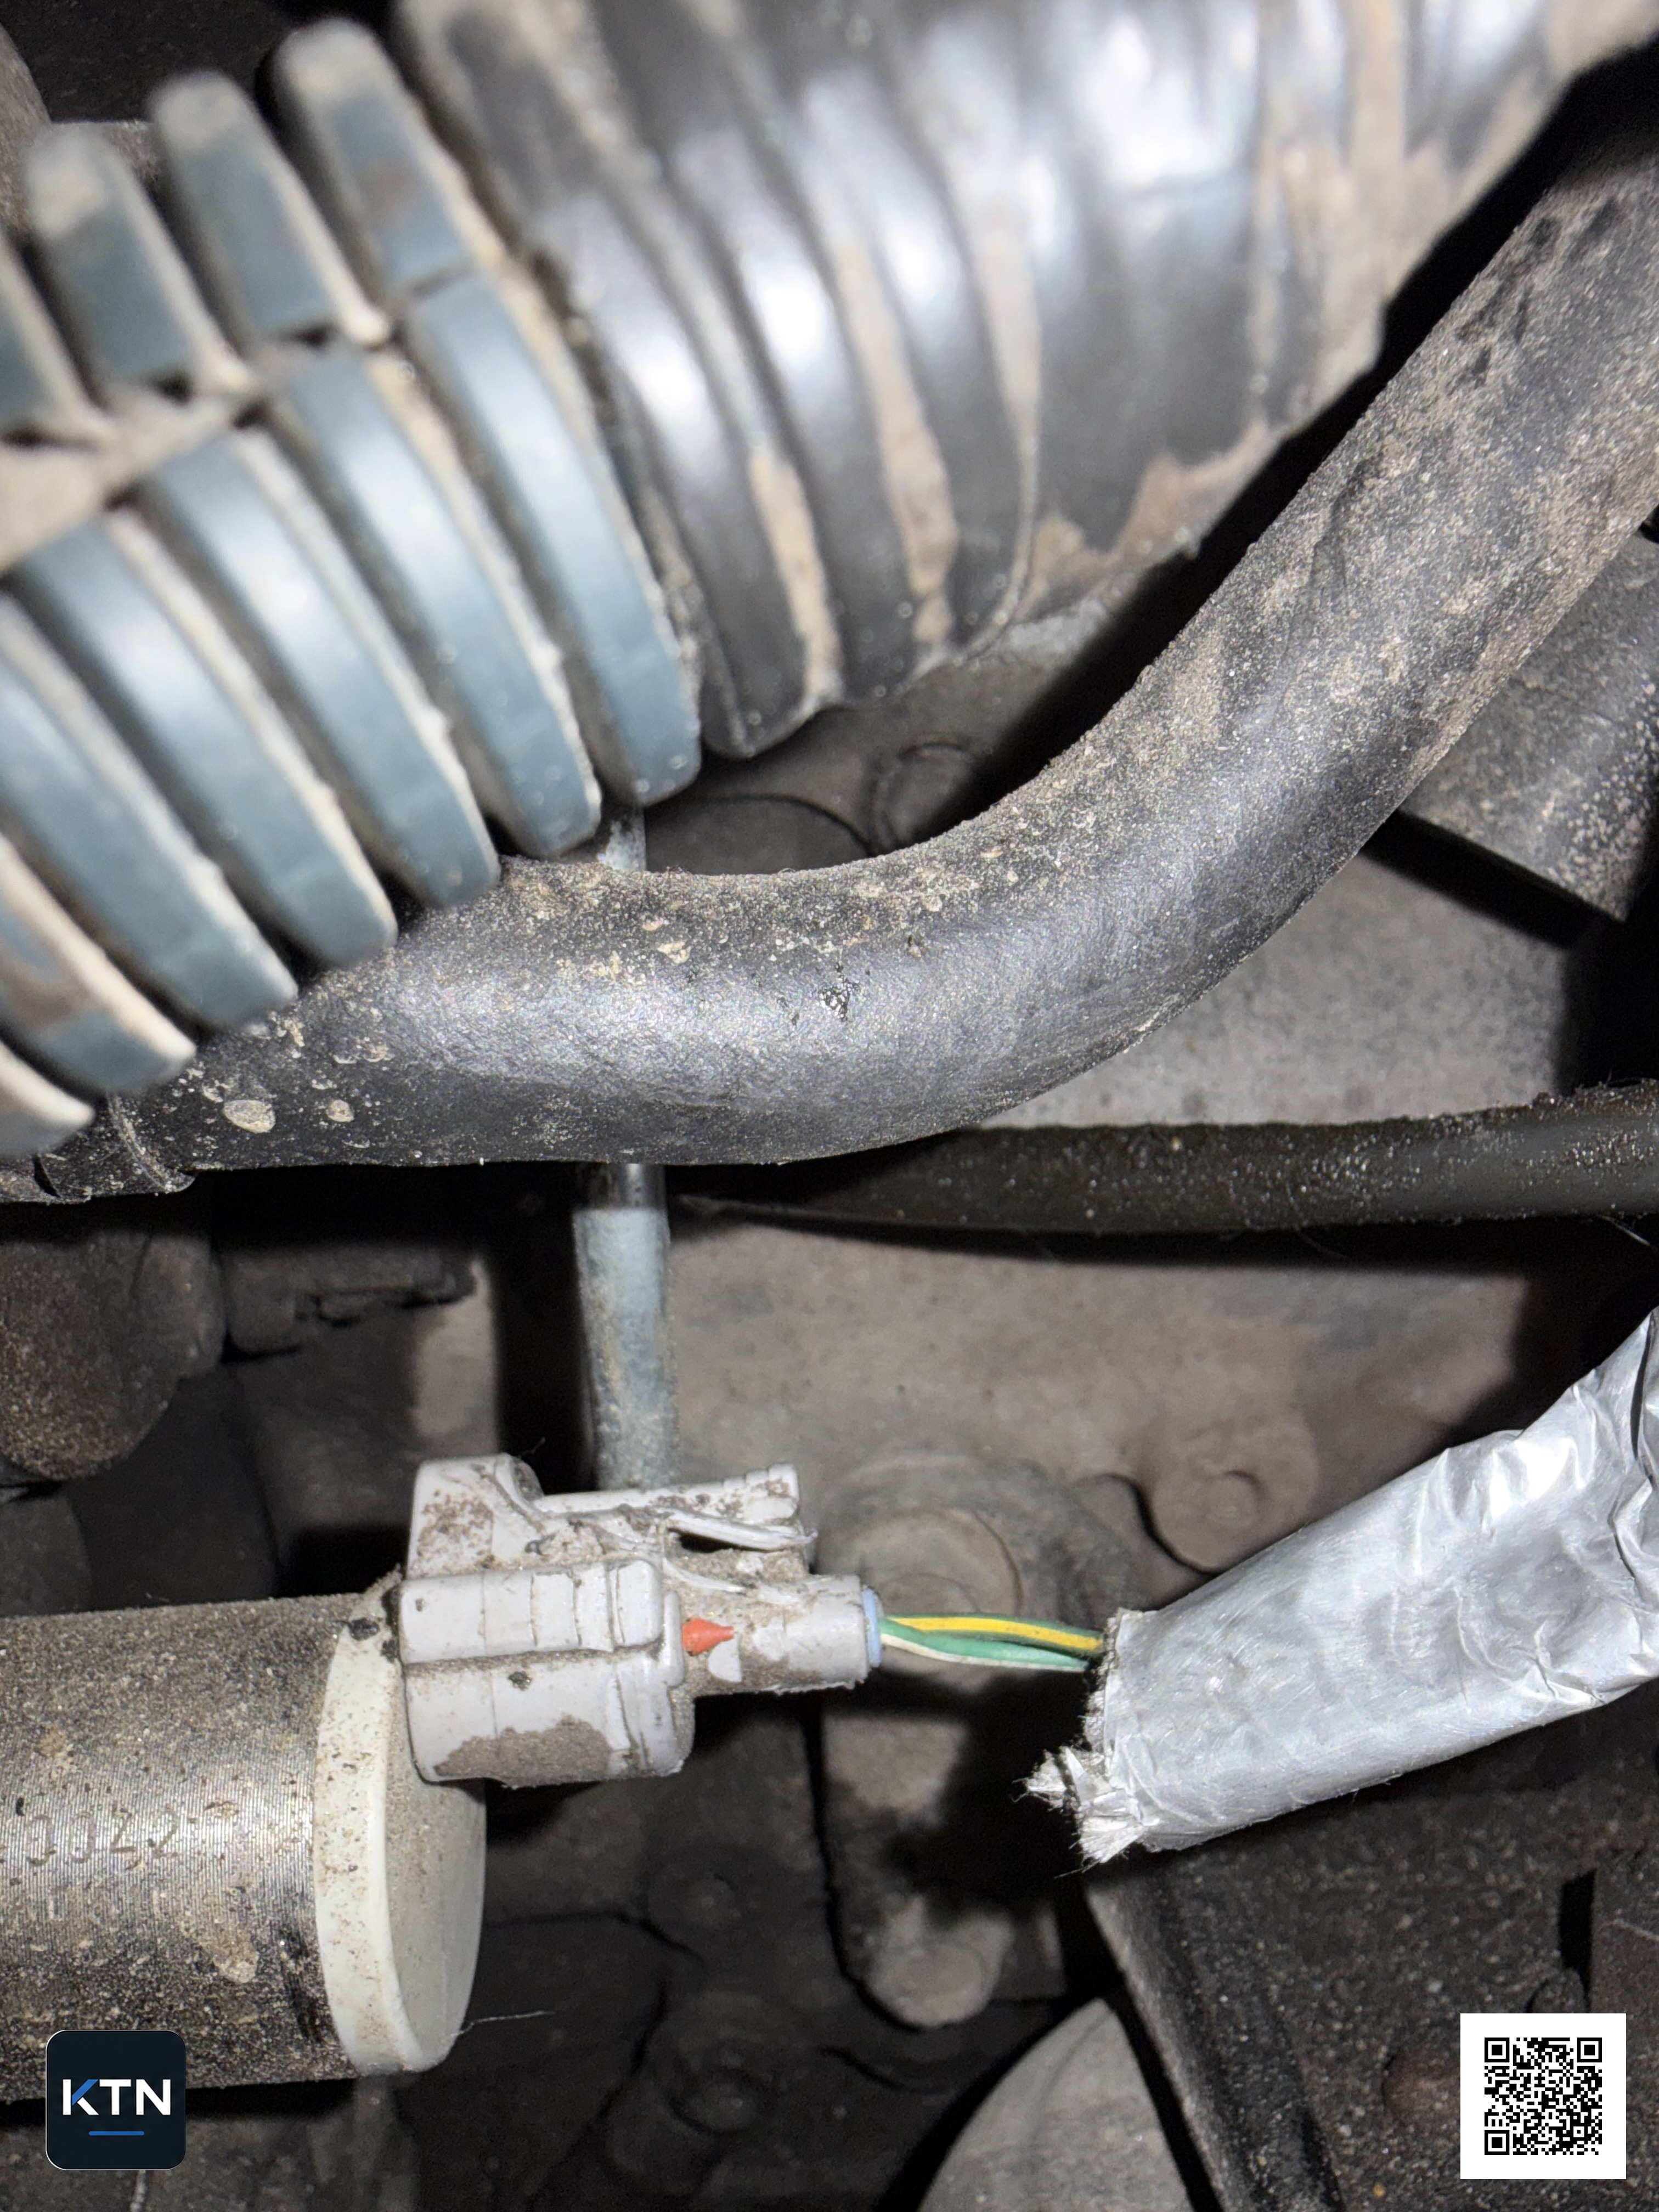
I had previously found chafed wiring in this area. I therefore decided to replace both wires between the ECU and the SCV rather than spend more time locating the exact point of the open circuit.
The new wires were soldered in near the SCV and near the ECU.
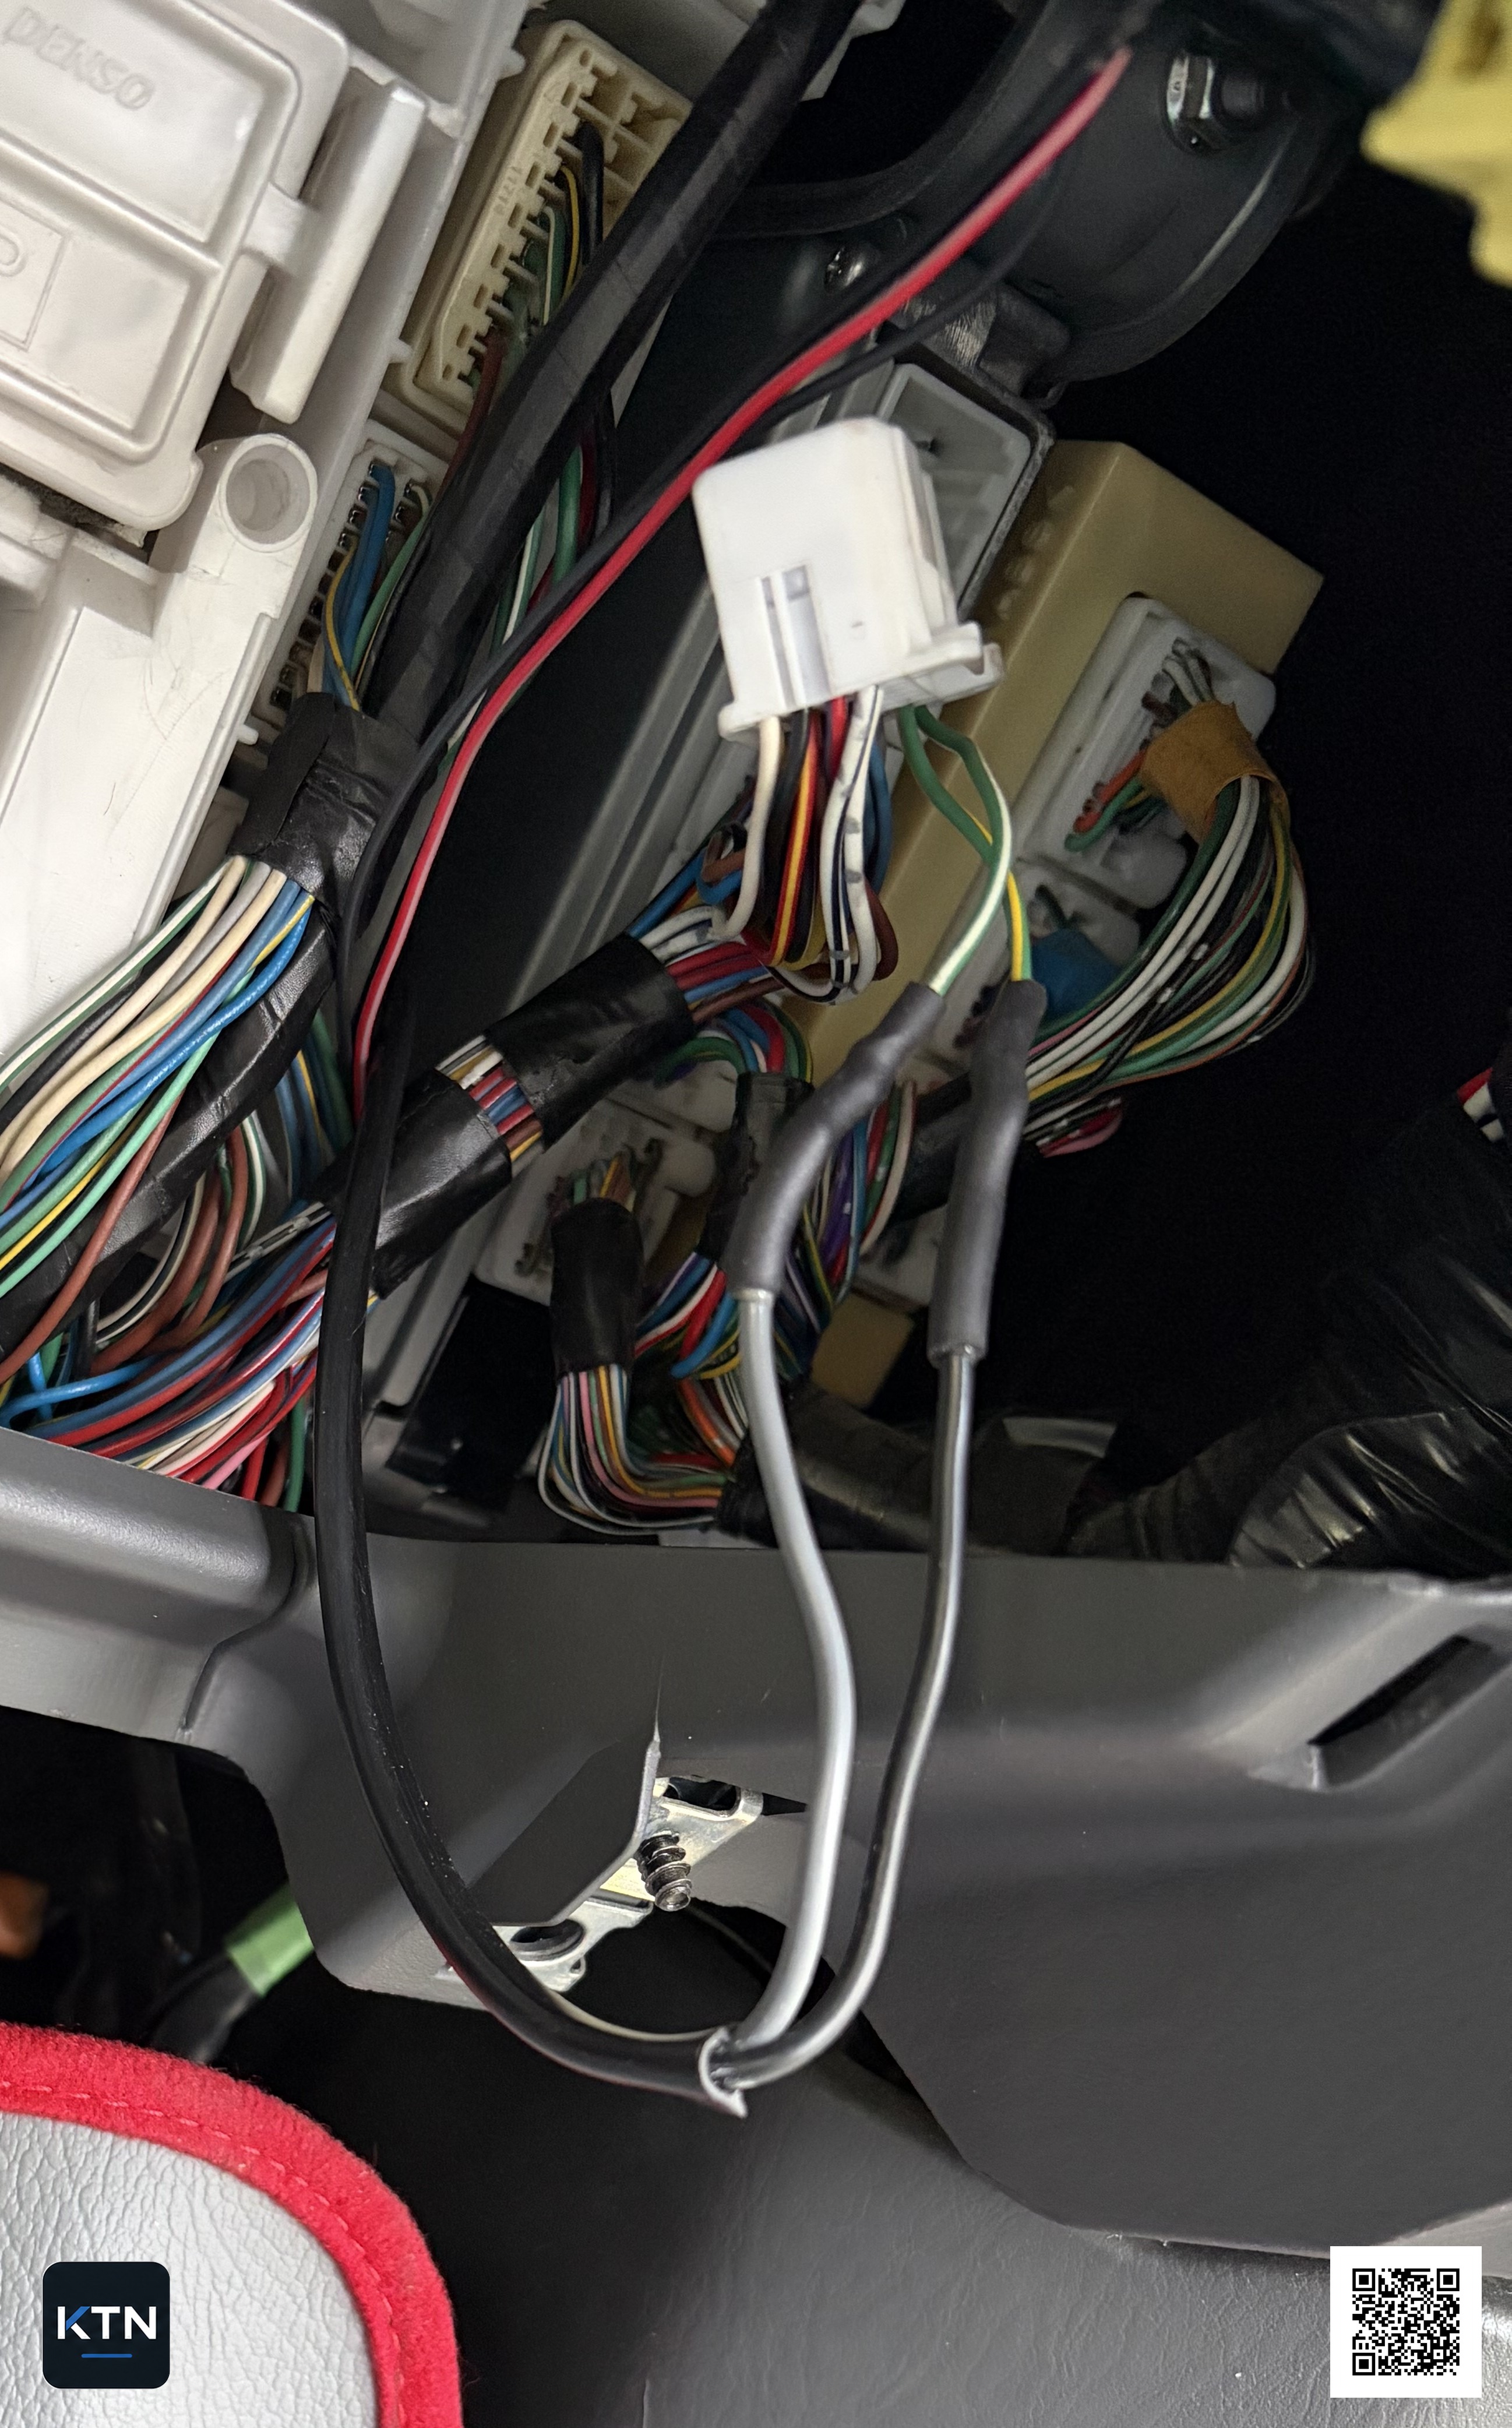
See also: My preferred method for soldering a wire splice
After the repair, I checked the resistance again. The multimeter displayed 2.3 Ω through the complete circuit.
Result
After the repair, the engine started normally and full power was restored. On this vehicle, the cause was an open circuit in the SCV wiring, not the SCV itself.
Download
Download KTN-EL-001 Rev B as a two-page PDF
Technical notes
The repair and measurements were carried out on a Toyota Land Cruiser 120 with the 1KD-FTV. Other Toyota models with the same engine may use a similar circuit, but connector numbering, pin locations and wire colours must be verified against the correct documentation for the vehicle.
Related articles
Related articles on soldering, cable splices and measurement methods will be added when they are published.