
This is the method I usually use when soldering two wires together. My aim is to make a splice that is straightforward to produce, mechanically stable while I solder it and well protected afterwards.
A full YouTube video of the entire process is included at the end of the article.
Pre-tinning the wire ends
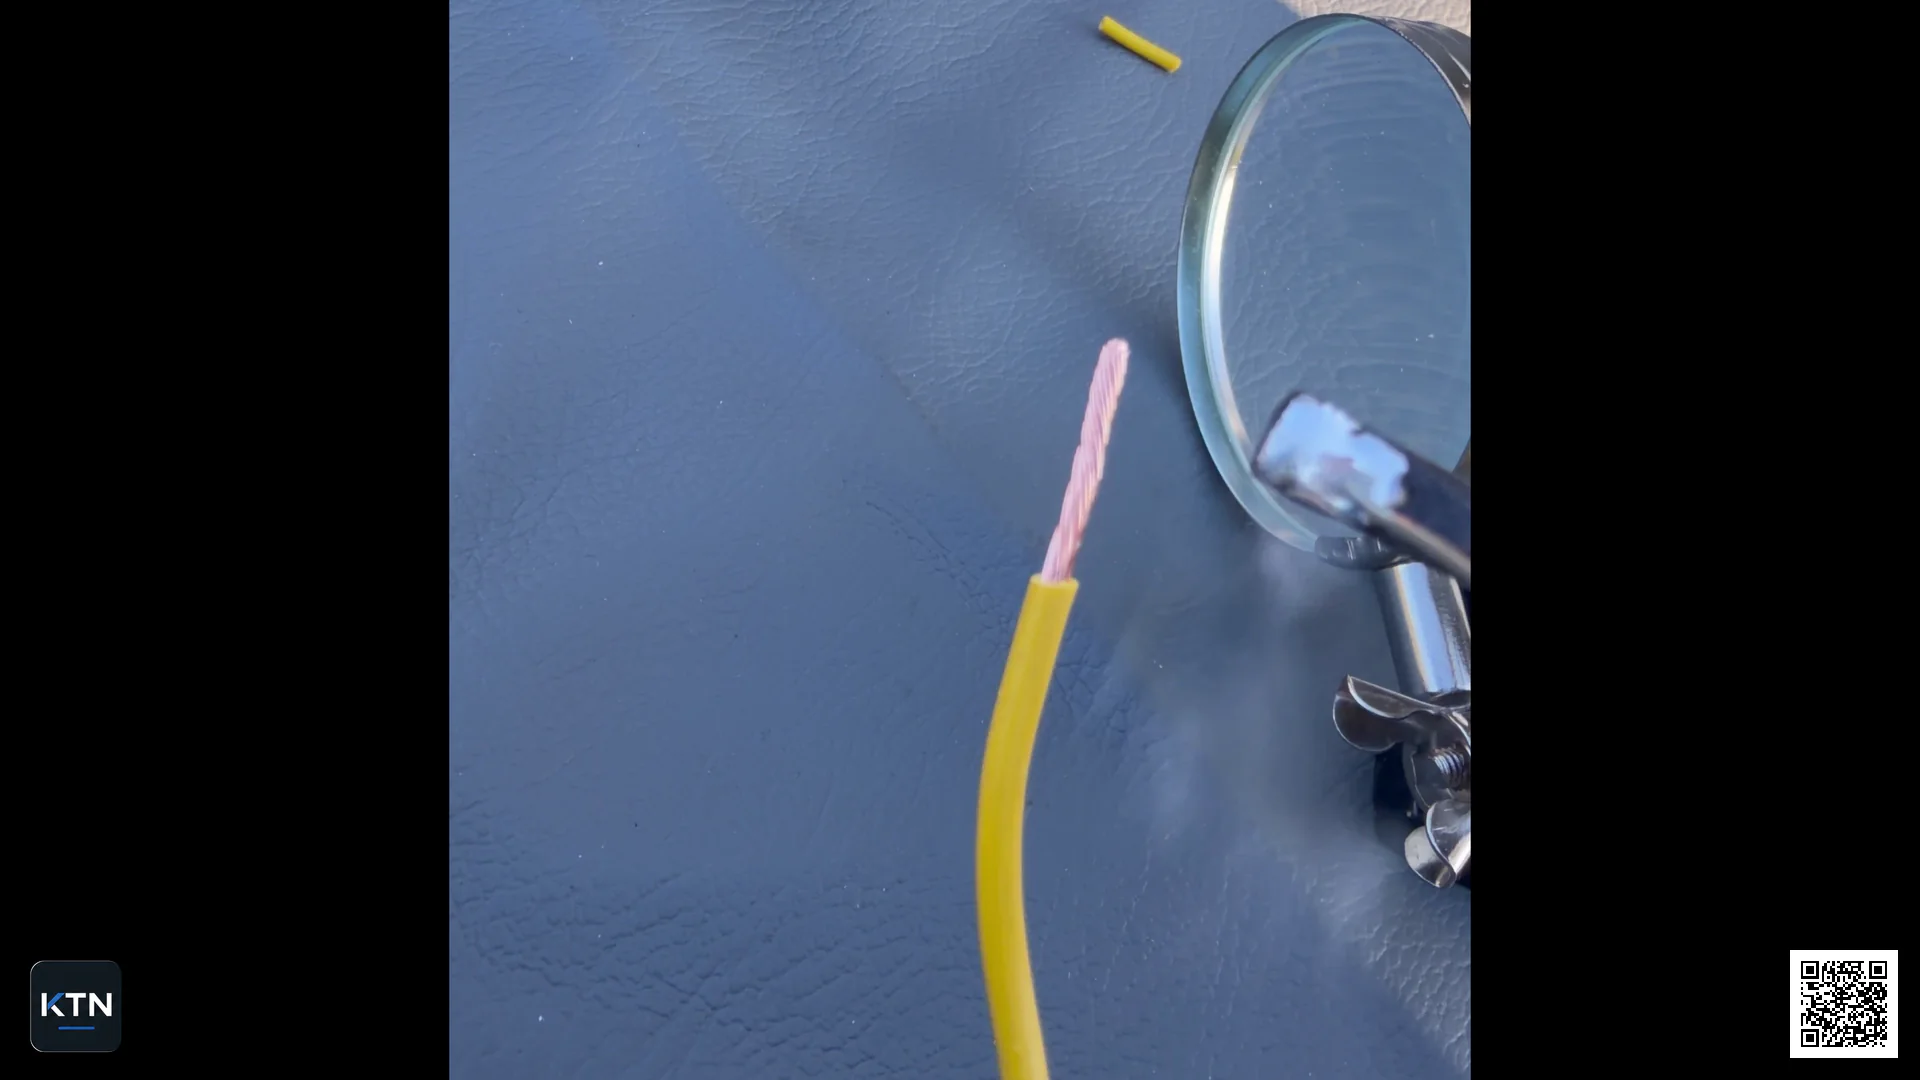
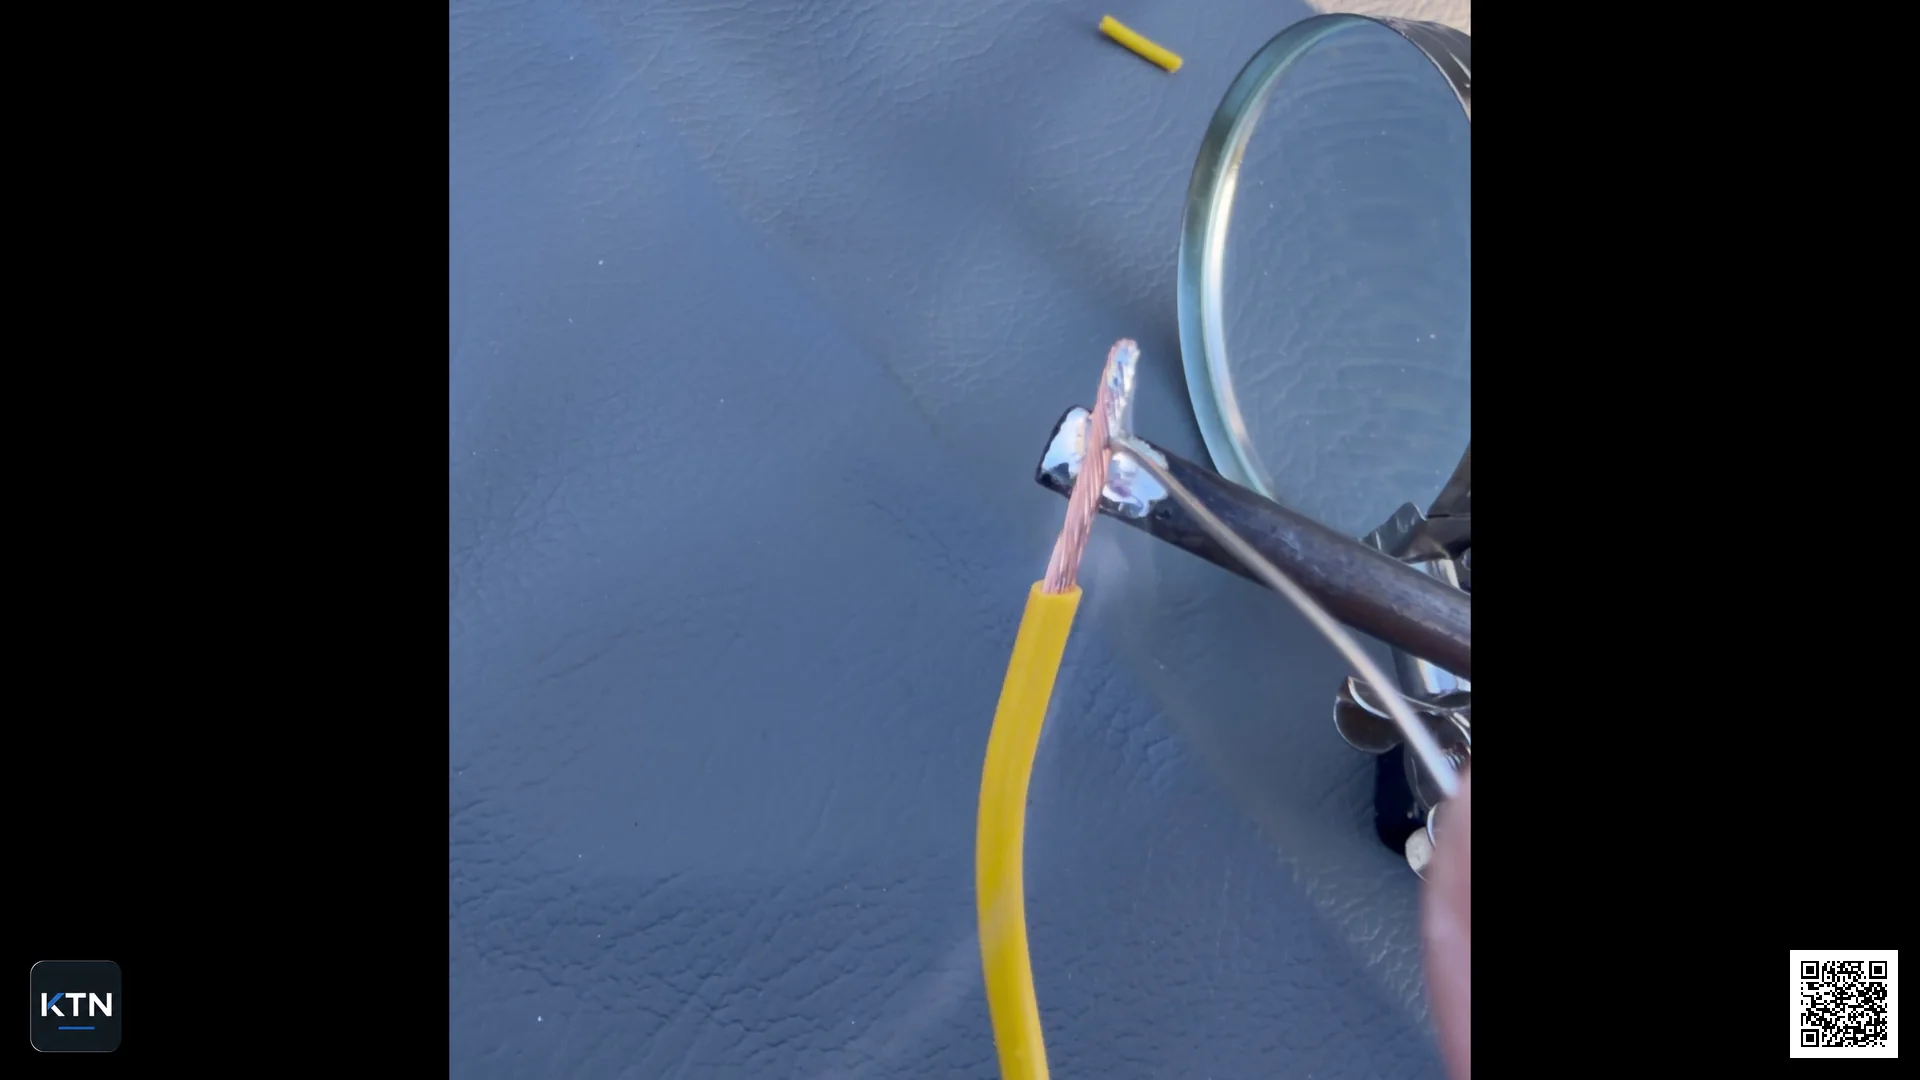
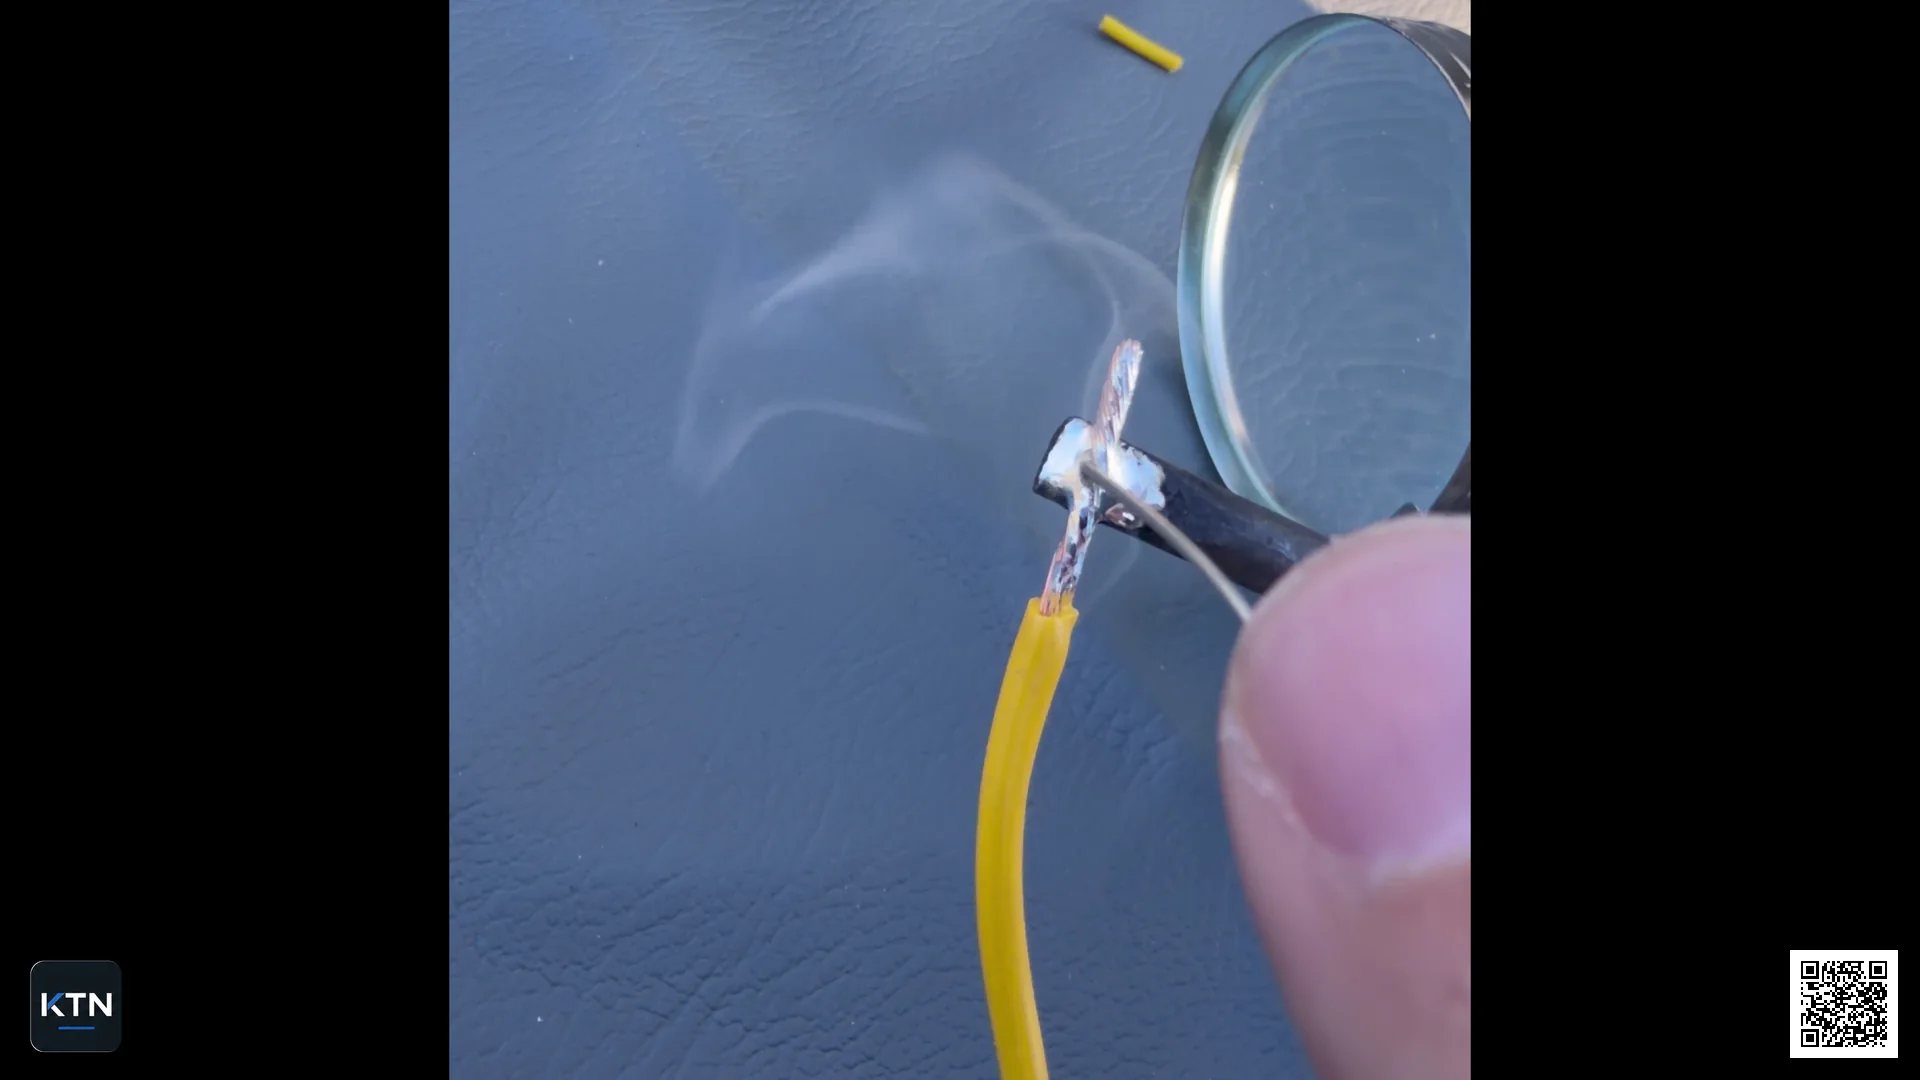
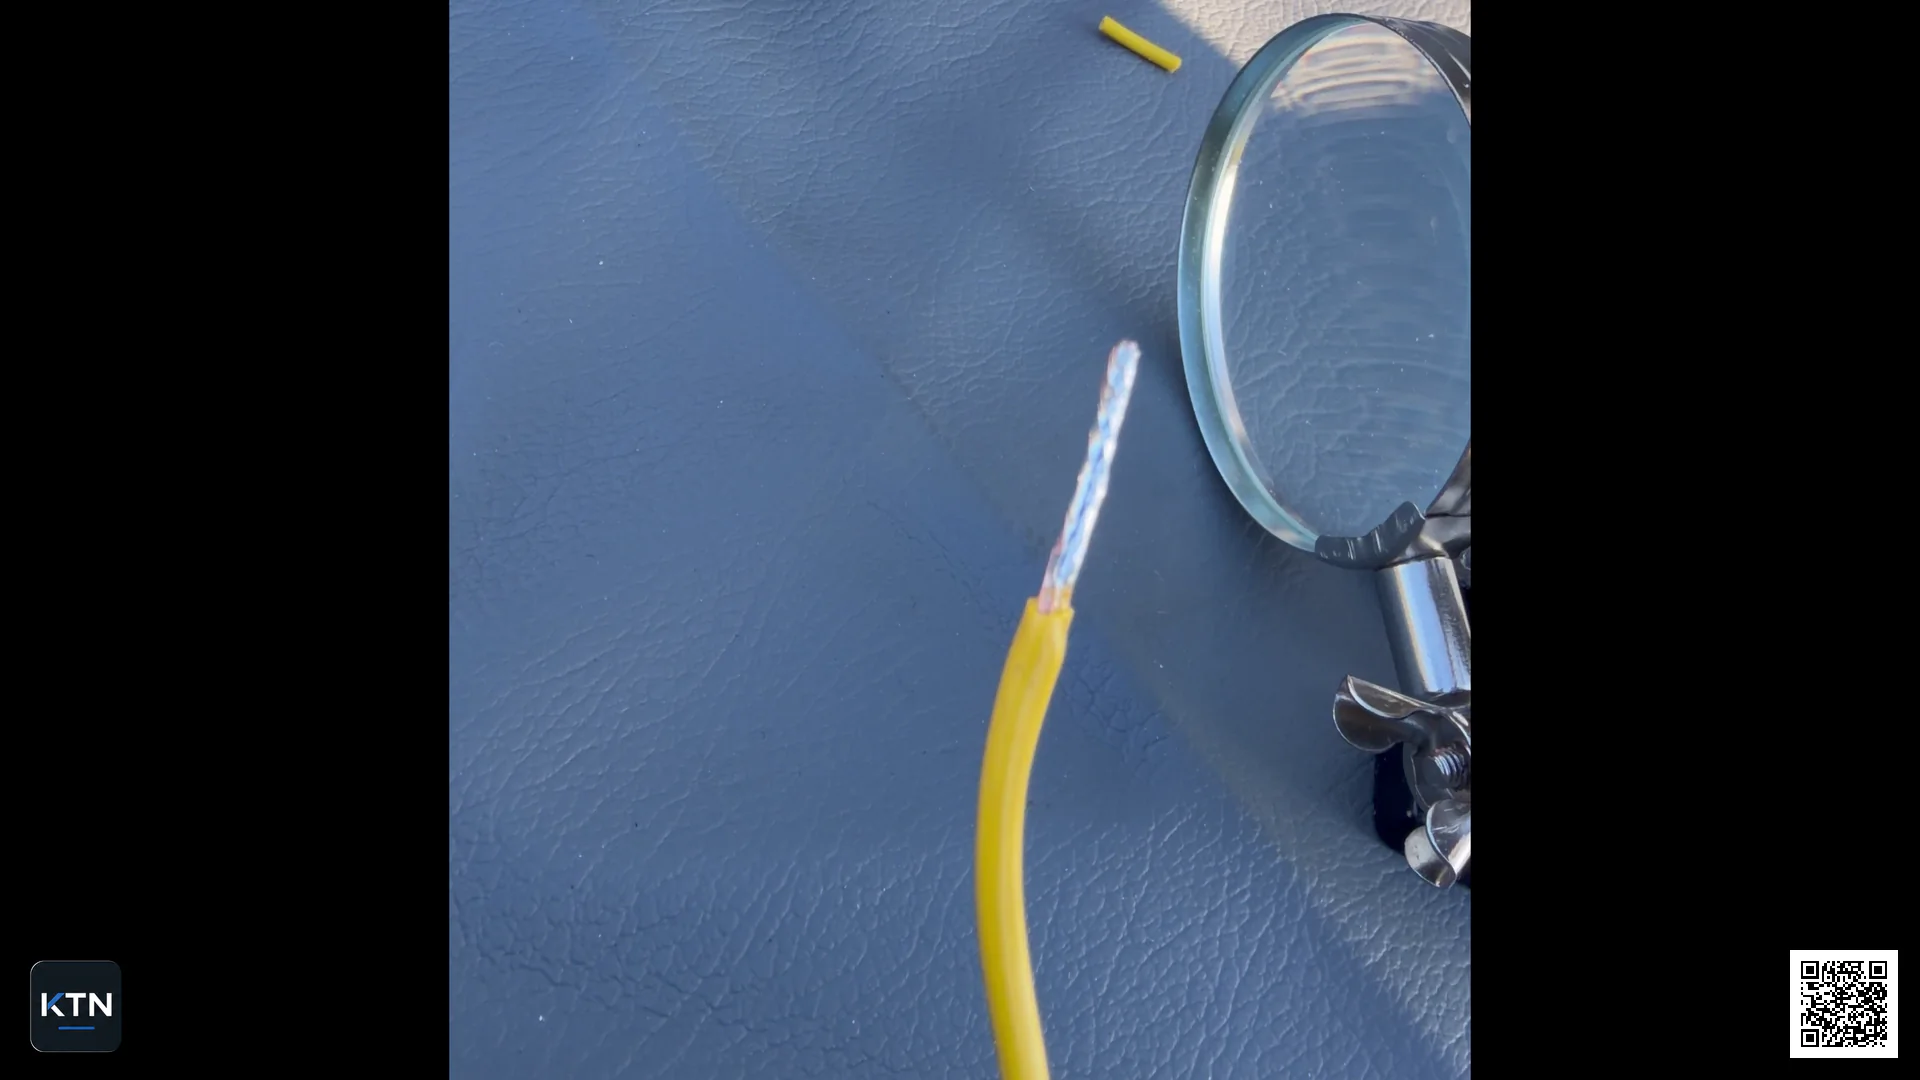
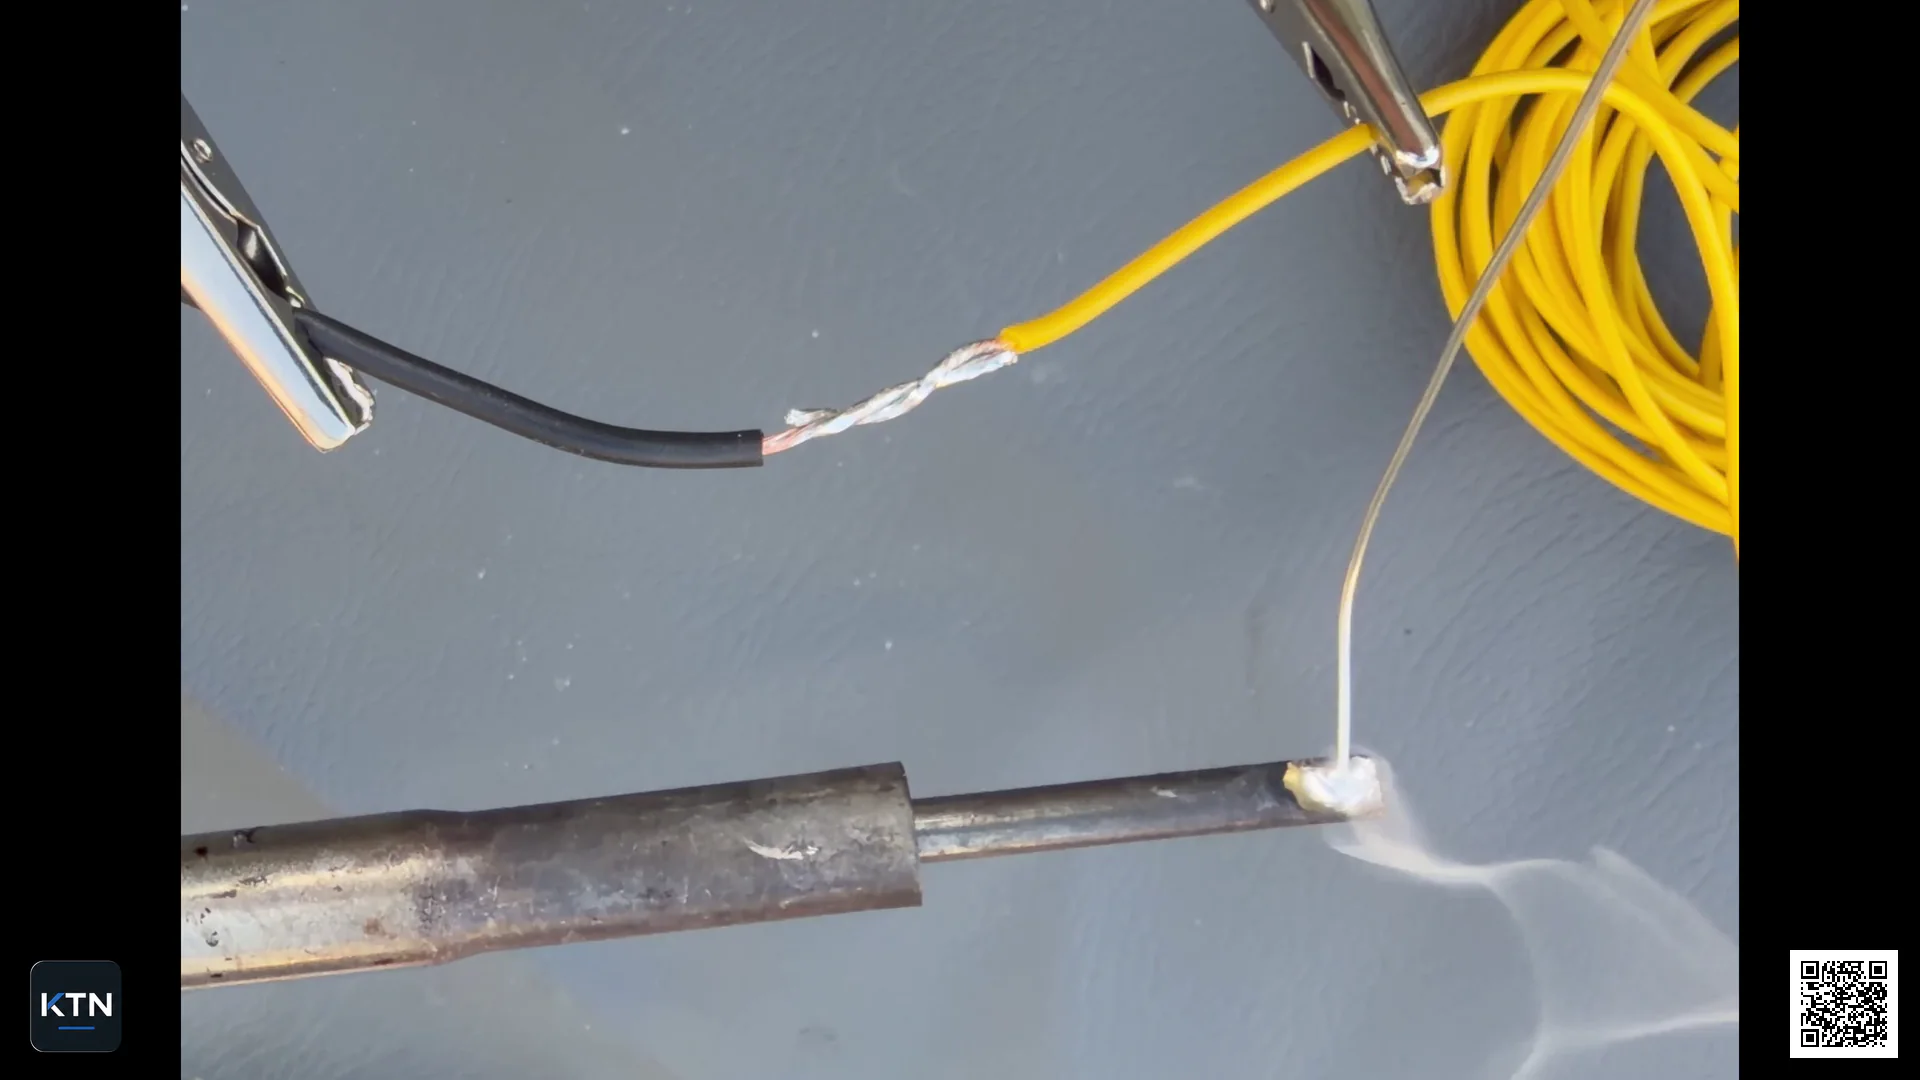
I usually pre-tin the wire ends before making the splice itself. This makes it easier to see that the copper accepts the solder, and the final soldering step is generally quicker afterwards.
I put a small amount of solder on the soldering-iron tip to transfer heat effectively into the conductor. I then feed solder from the opposite side of the wire. Once the conductor is hot enough, the solder flows in between the copper strands.
Light mechanical locking
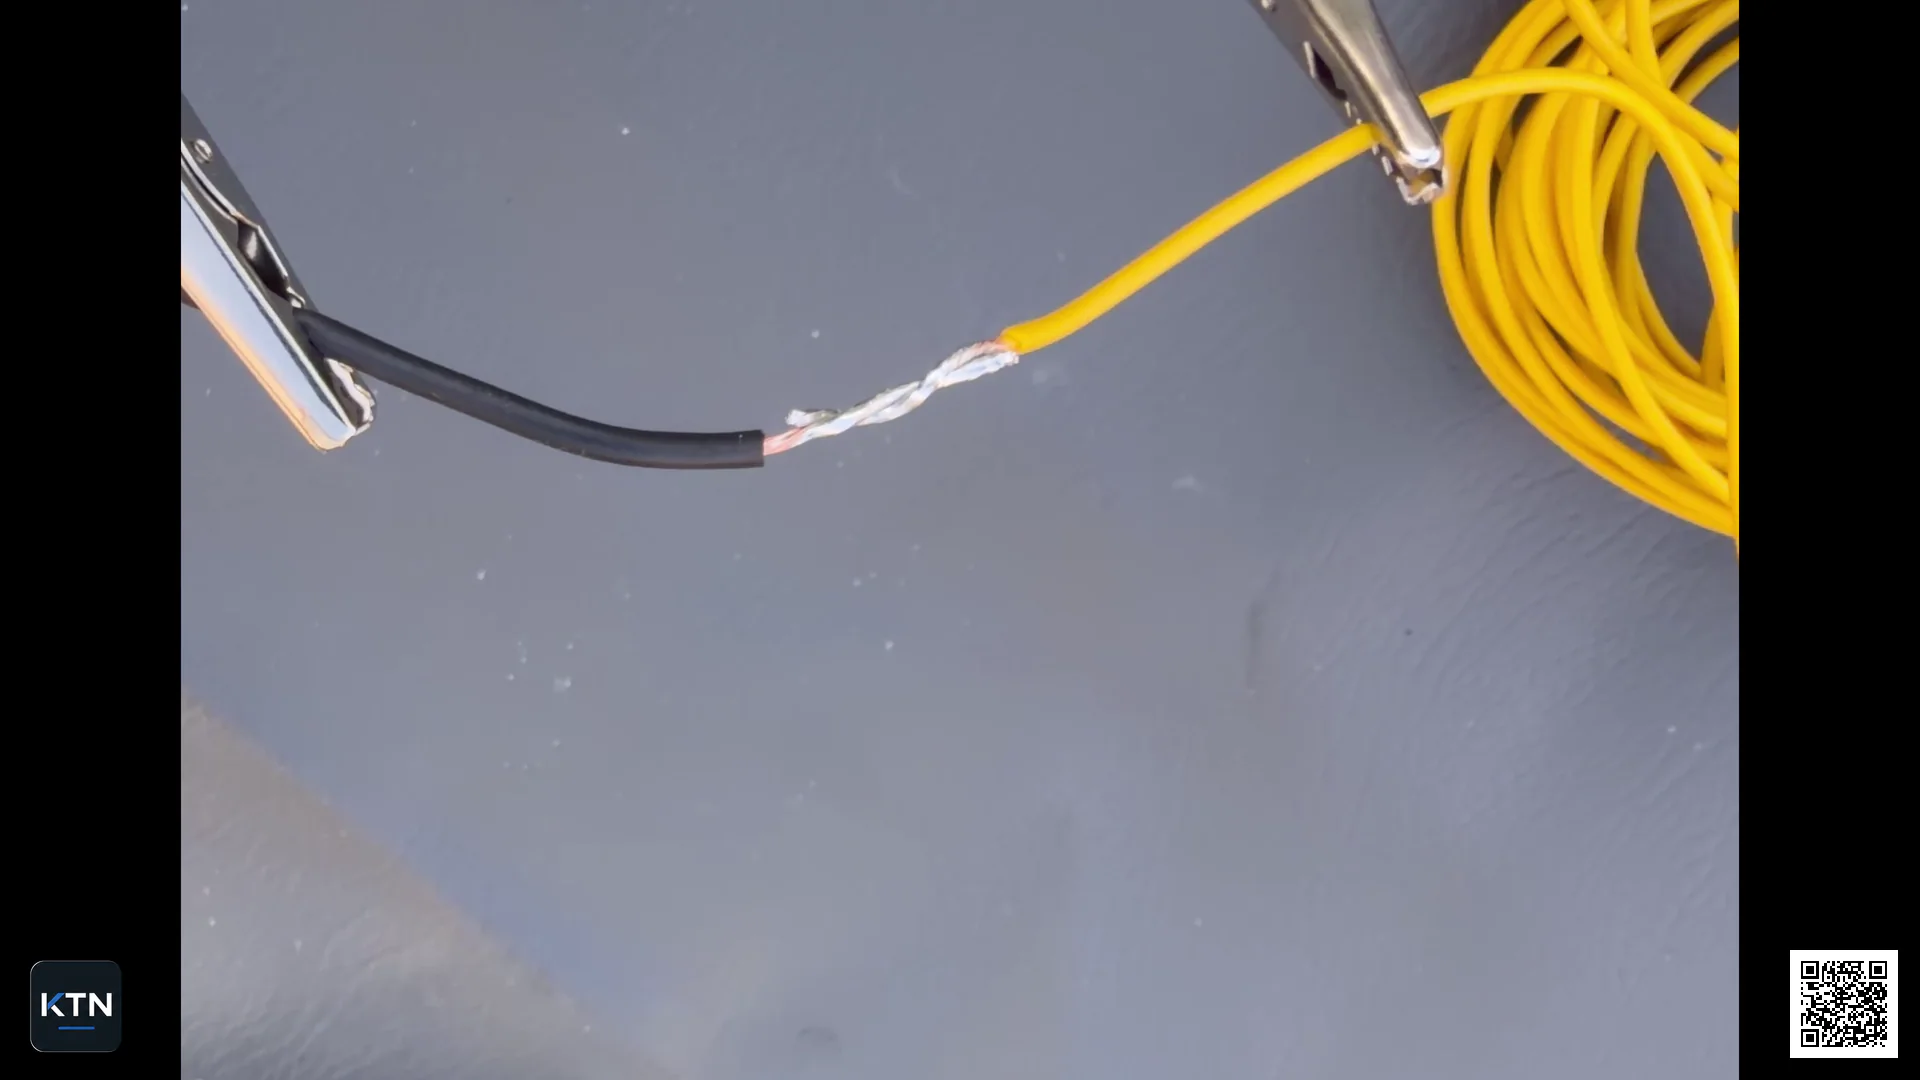
Before soldering the wire ends together, I normally make a light mechanical lock by twisting the conductors together.
The aim is not to make a large or complicated splice, but to keep the wire ends in position while I solder them. This is particularly useful in cramped engine bays, where using a soldering stand or another aid is not always practical.
In some situations, a parallel splice may be a better option, for example when there is very little room to strip the wires and lay the conductors end to end. I will return to that in a separate article.
Soldering the splice
Once the splice is mechanically stable, I begin the soldering itself.
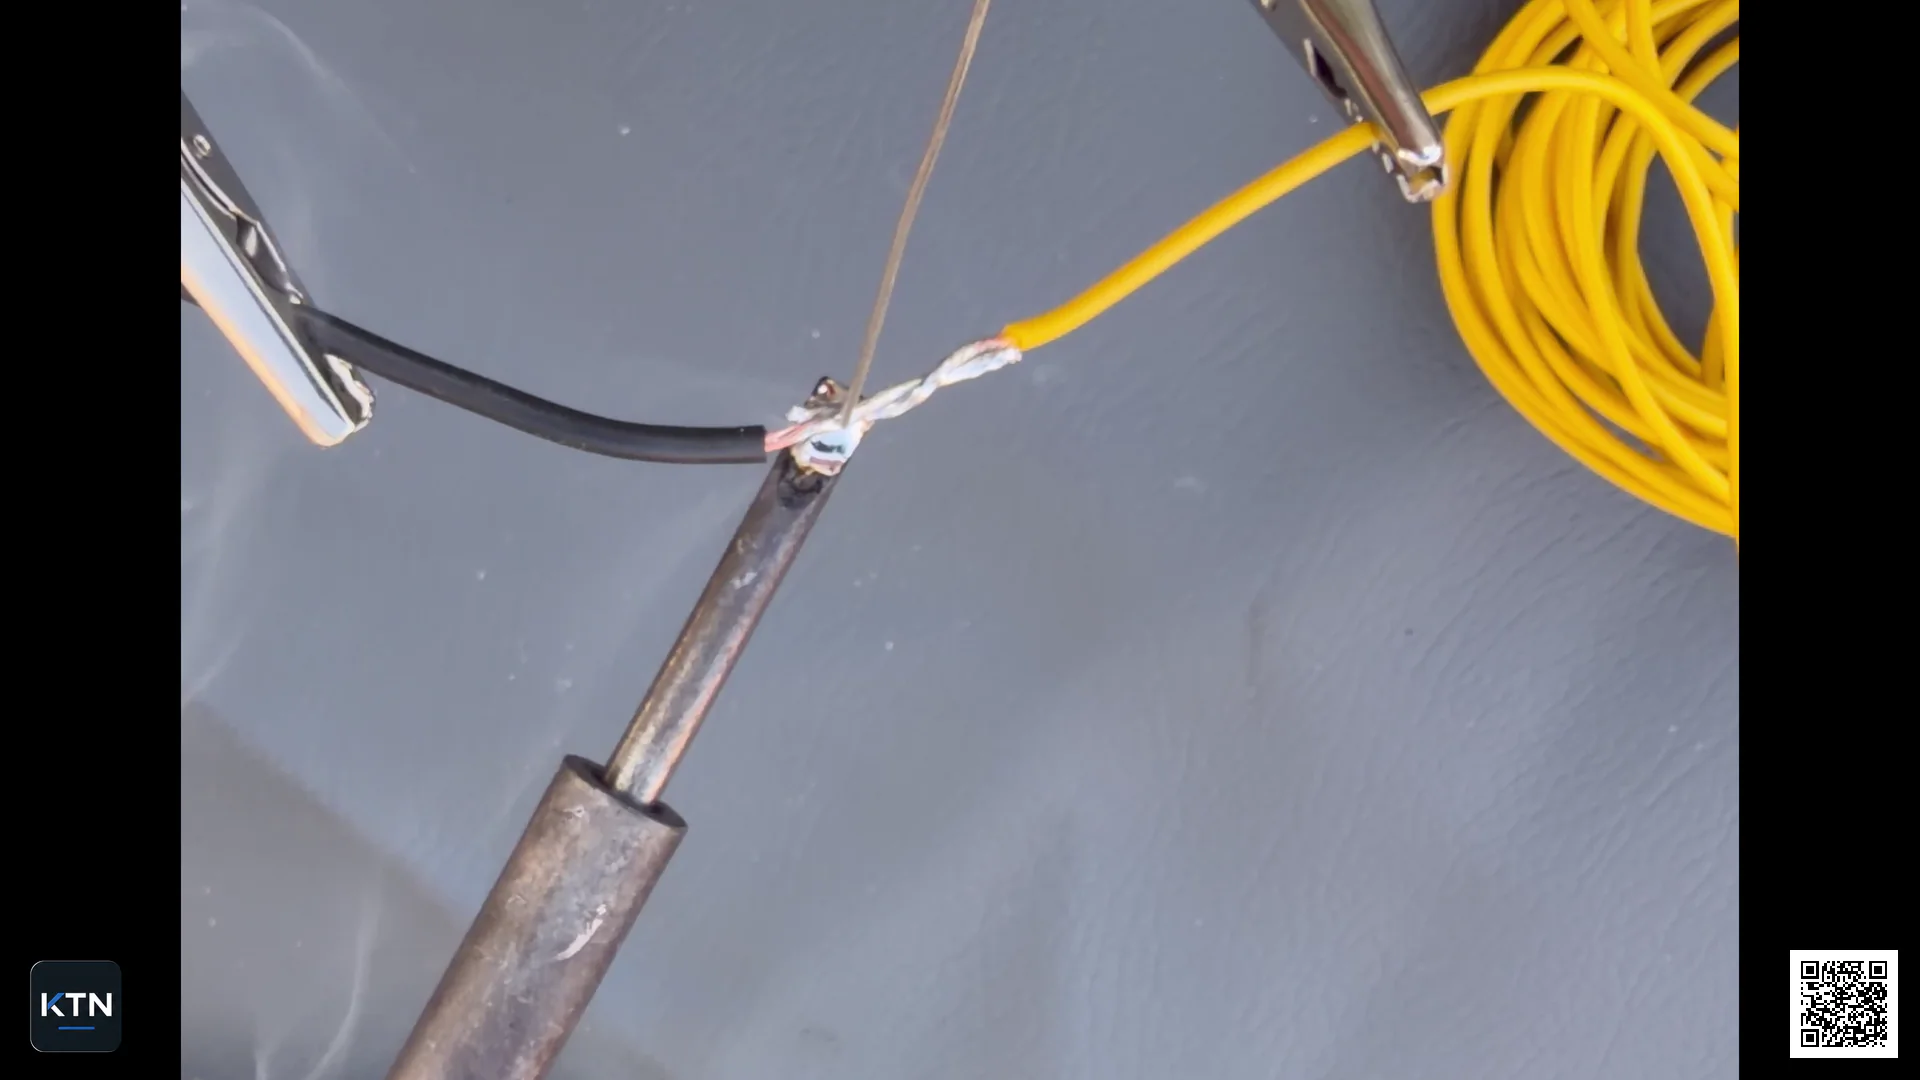
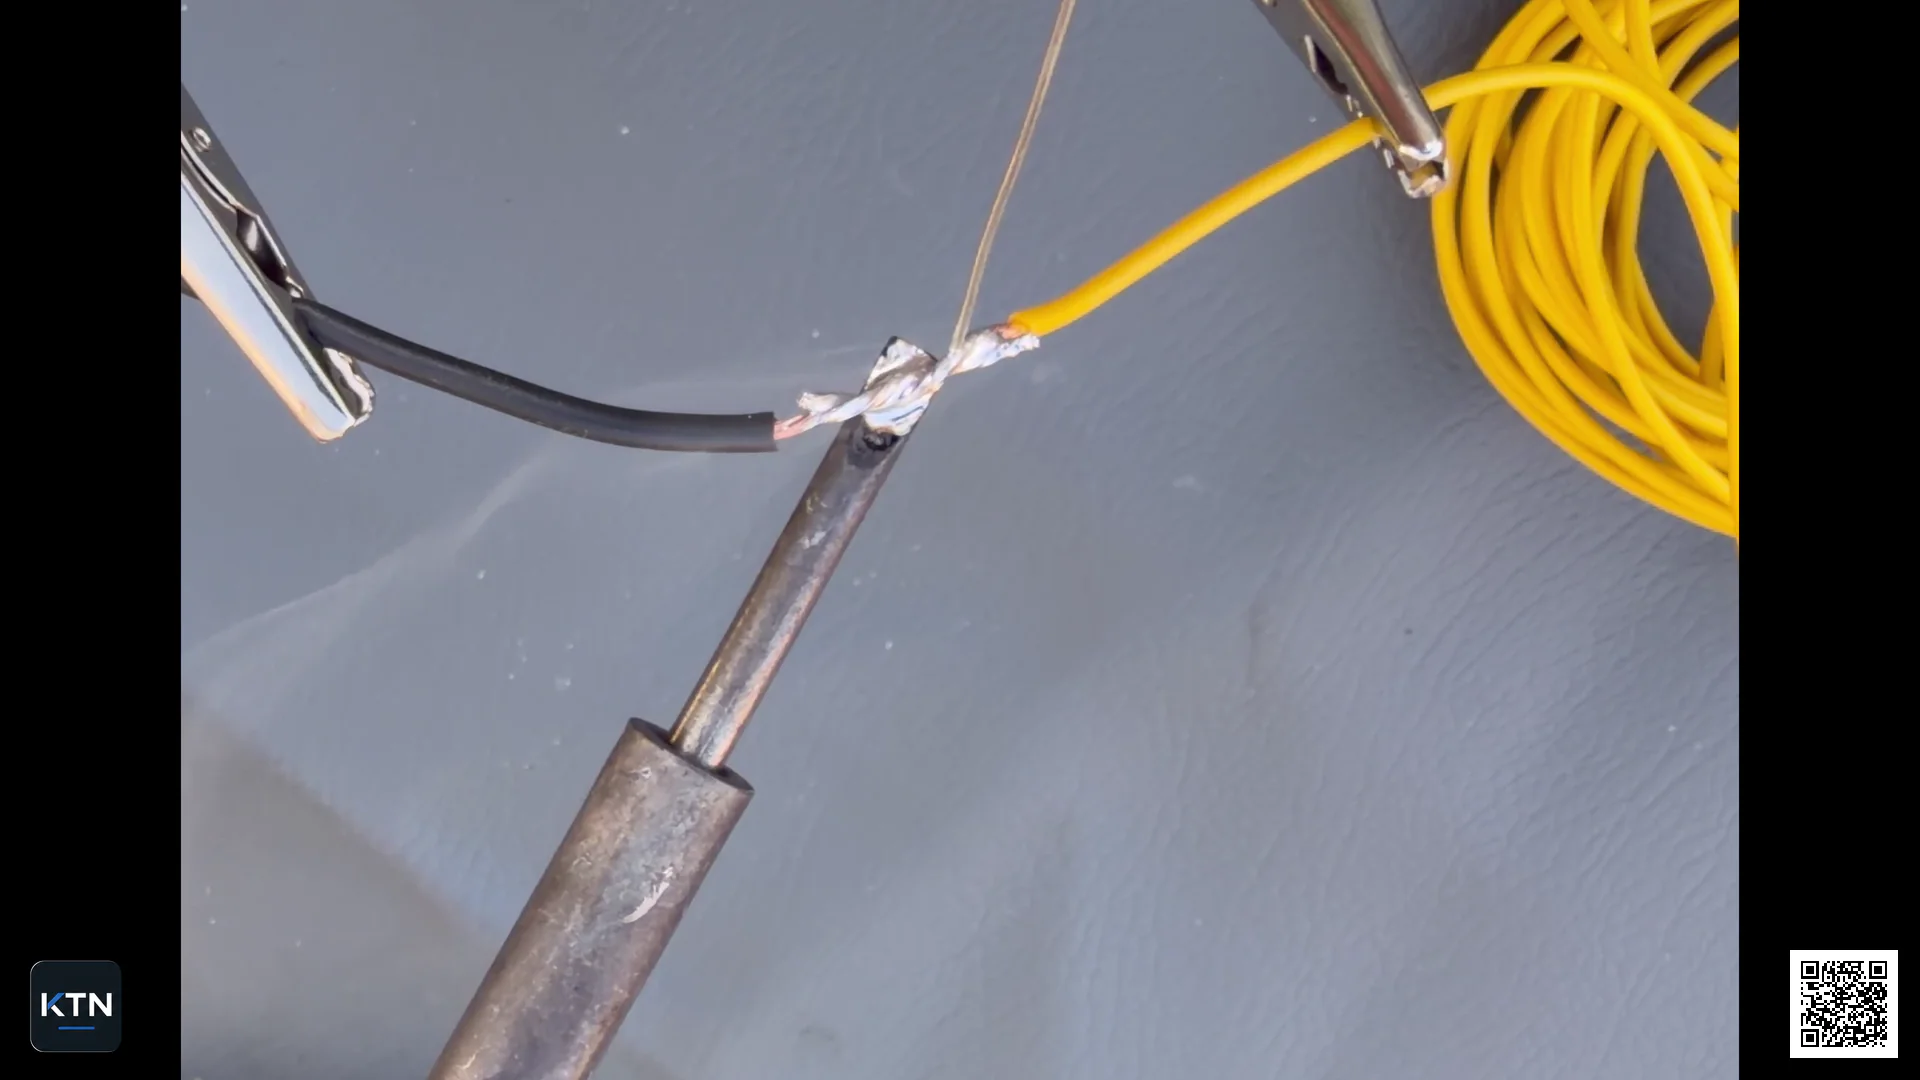
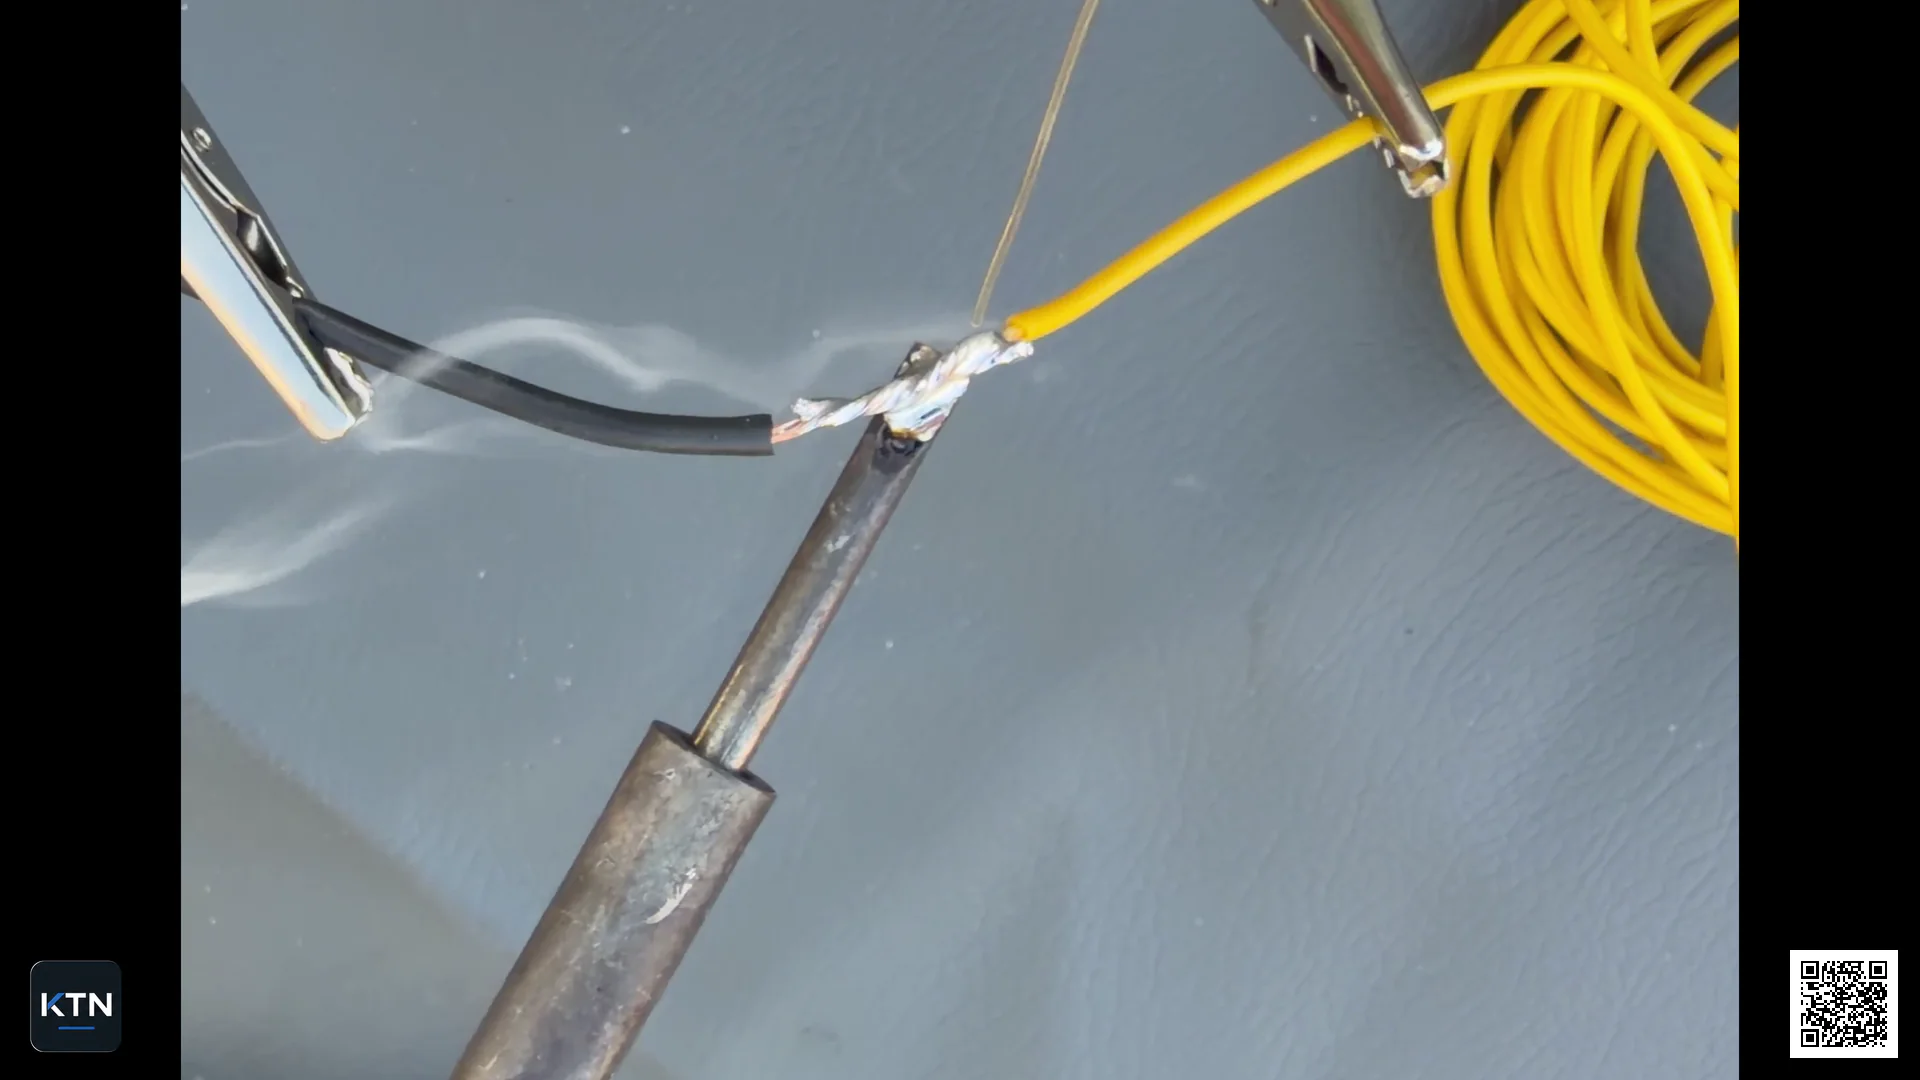
I again put a small amount of solder on the soldering-iron tip to transfer heat effectively into the splice. I feed the solder from the opposite side.
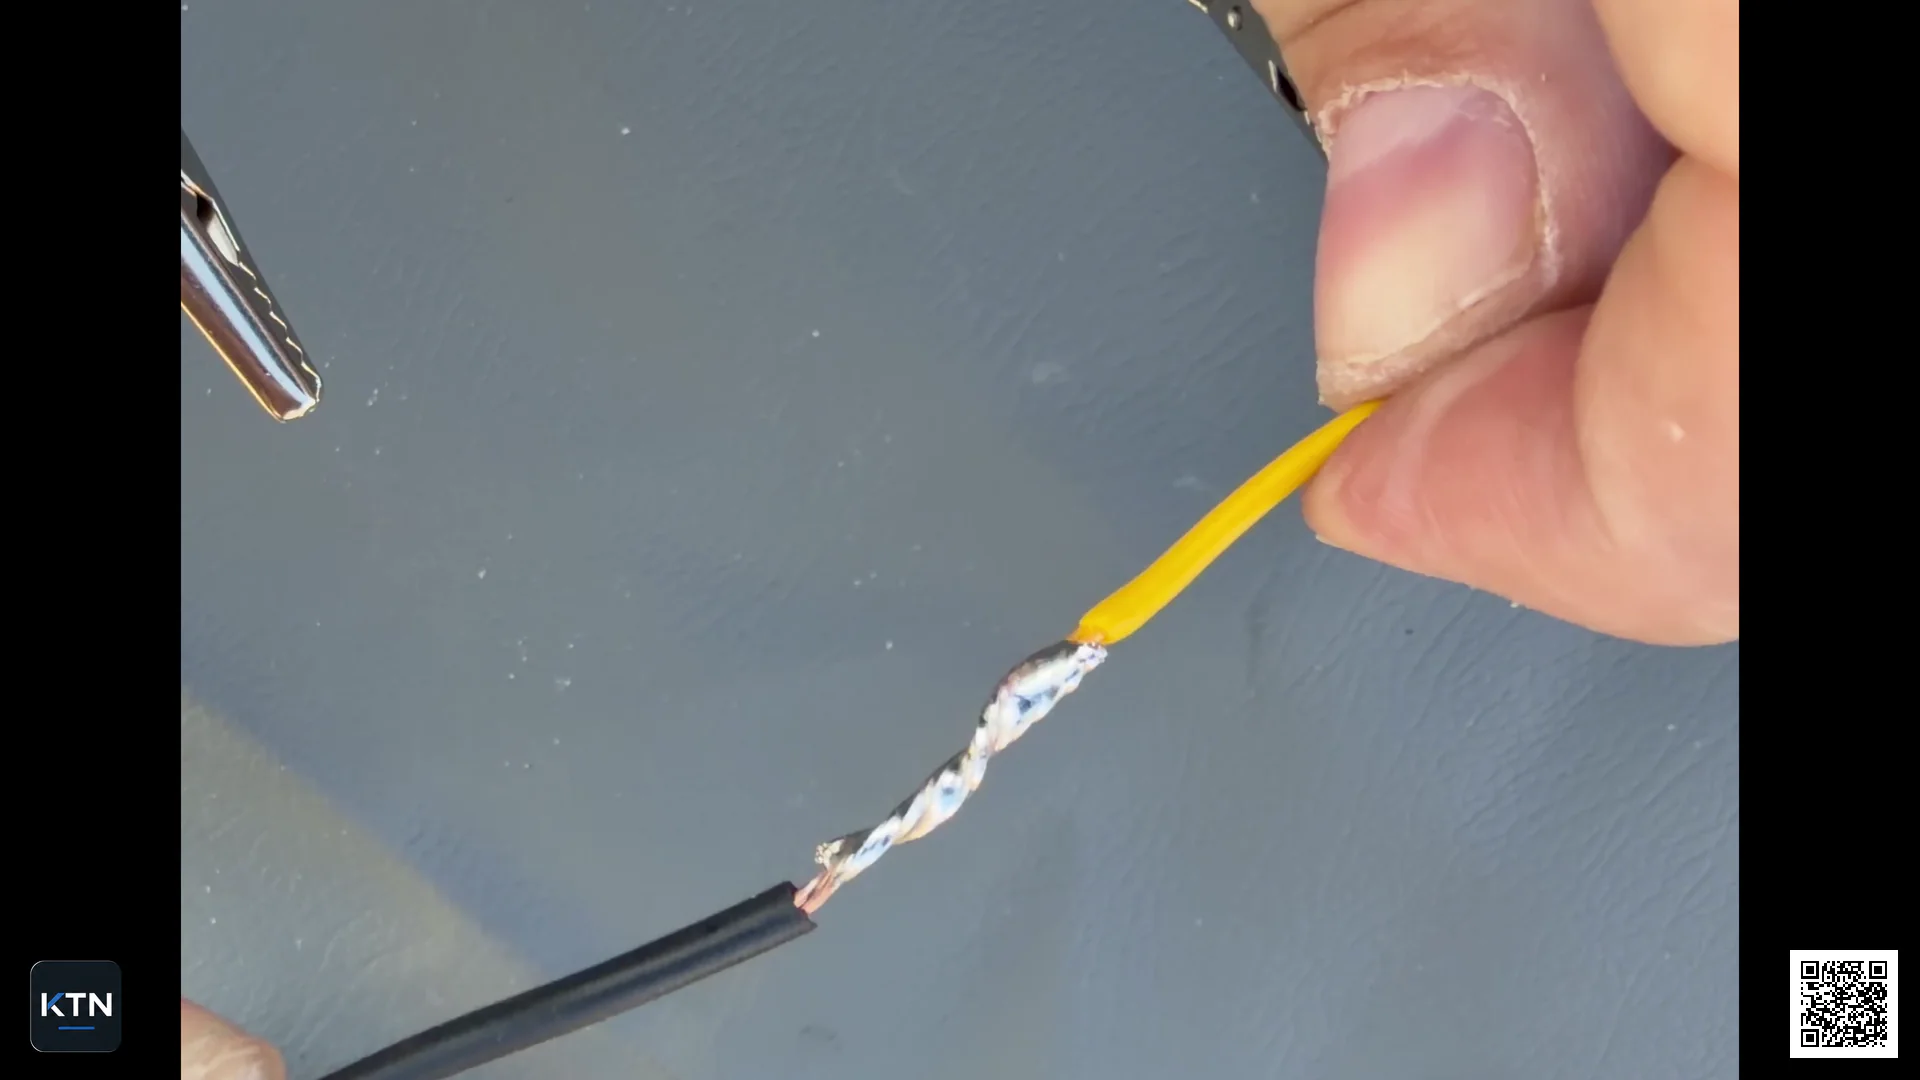
Once the copper is hot enough, capillary action draws the solder in between the conductors. The aim is for the solder to spread through the splice, rather than merely coating the outside.
Finishing work
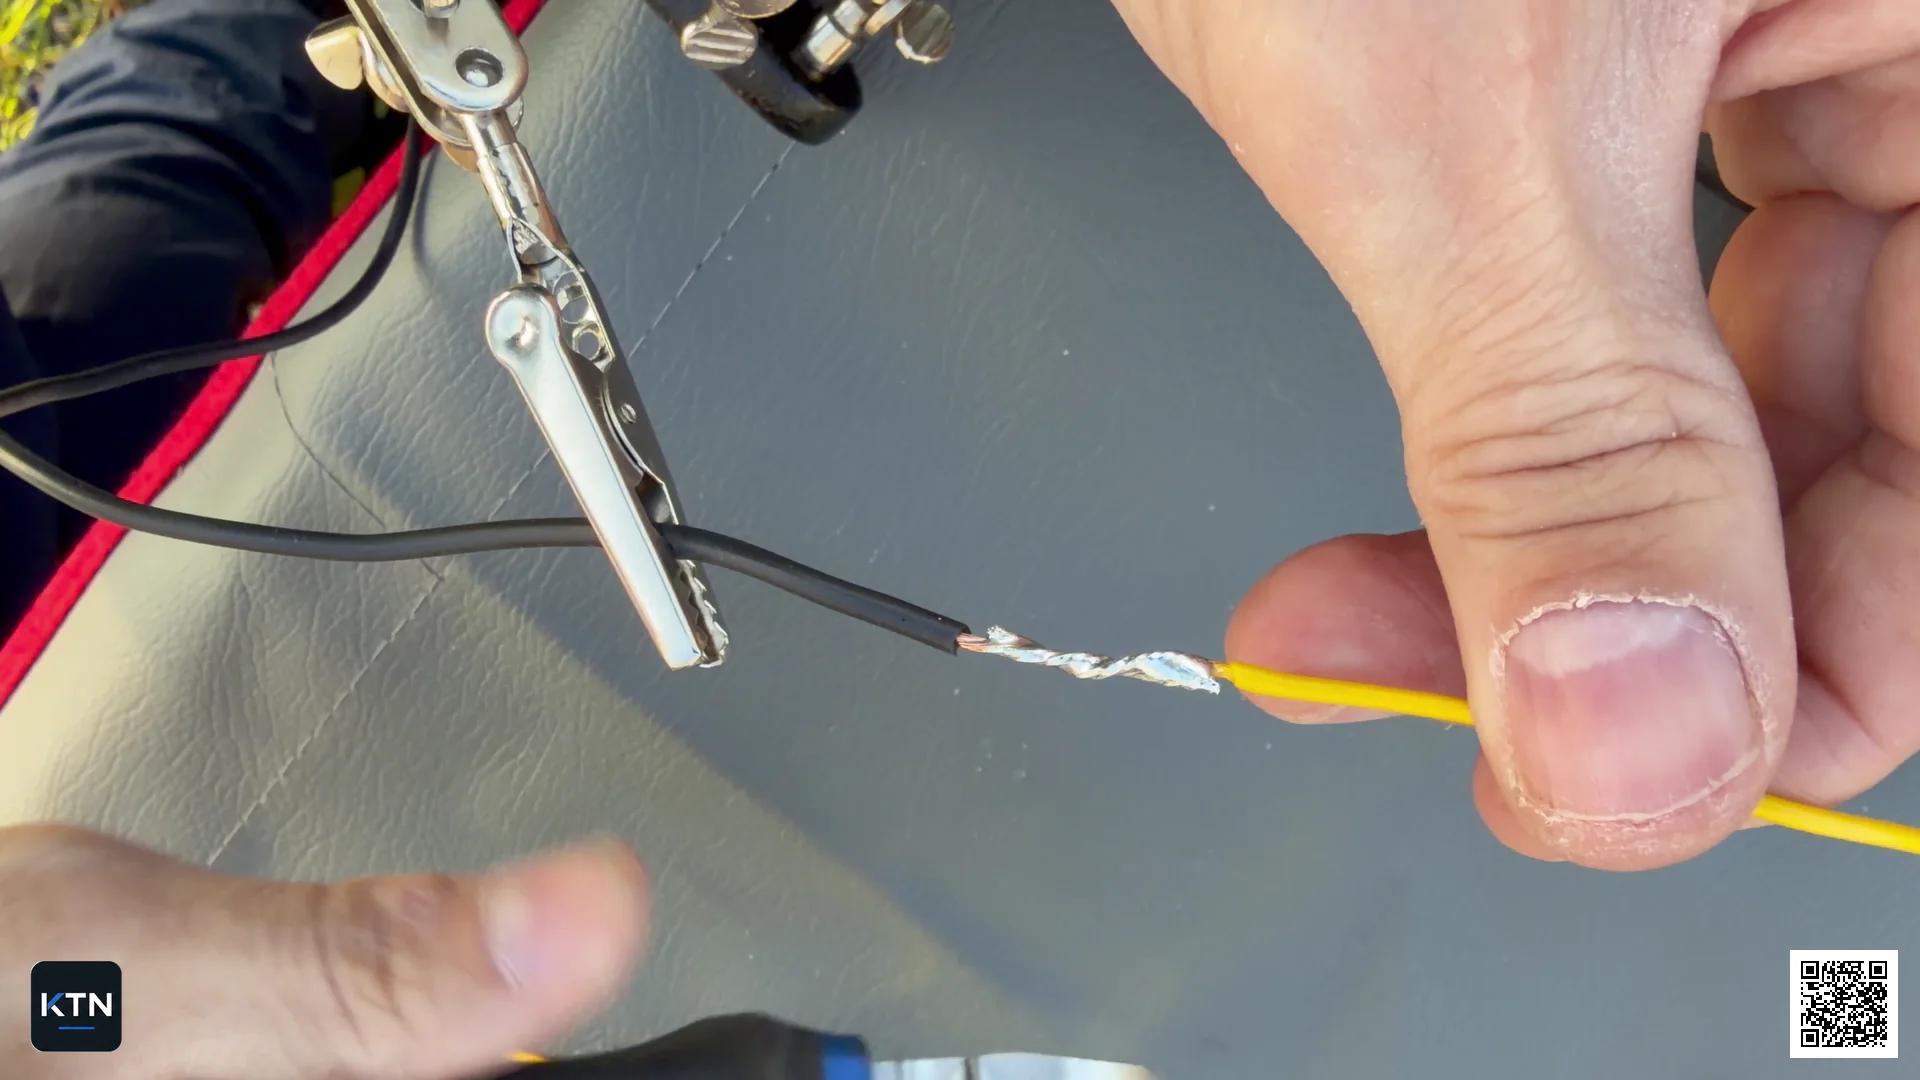
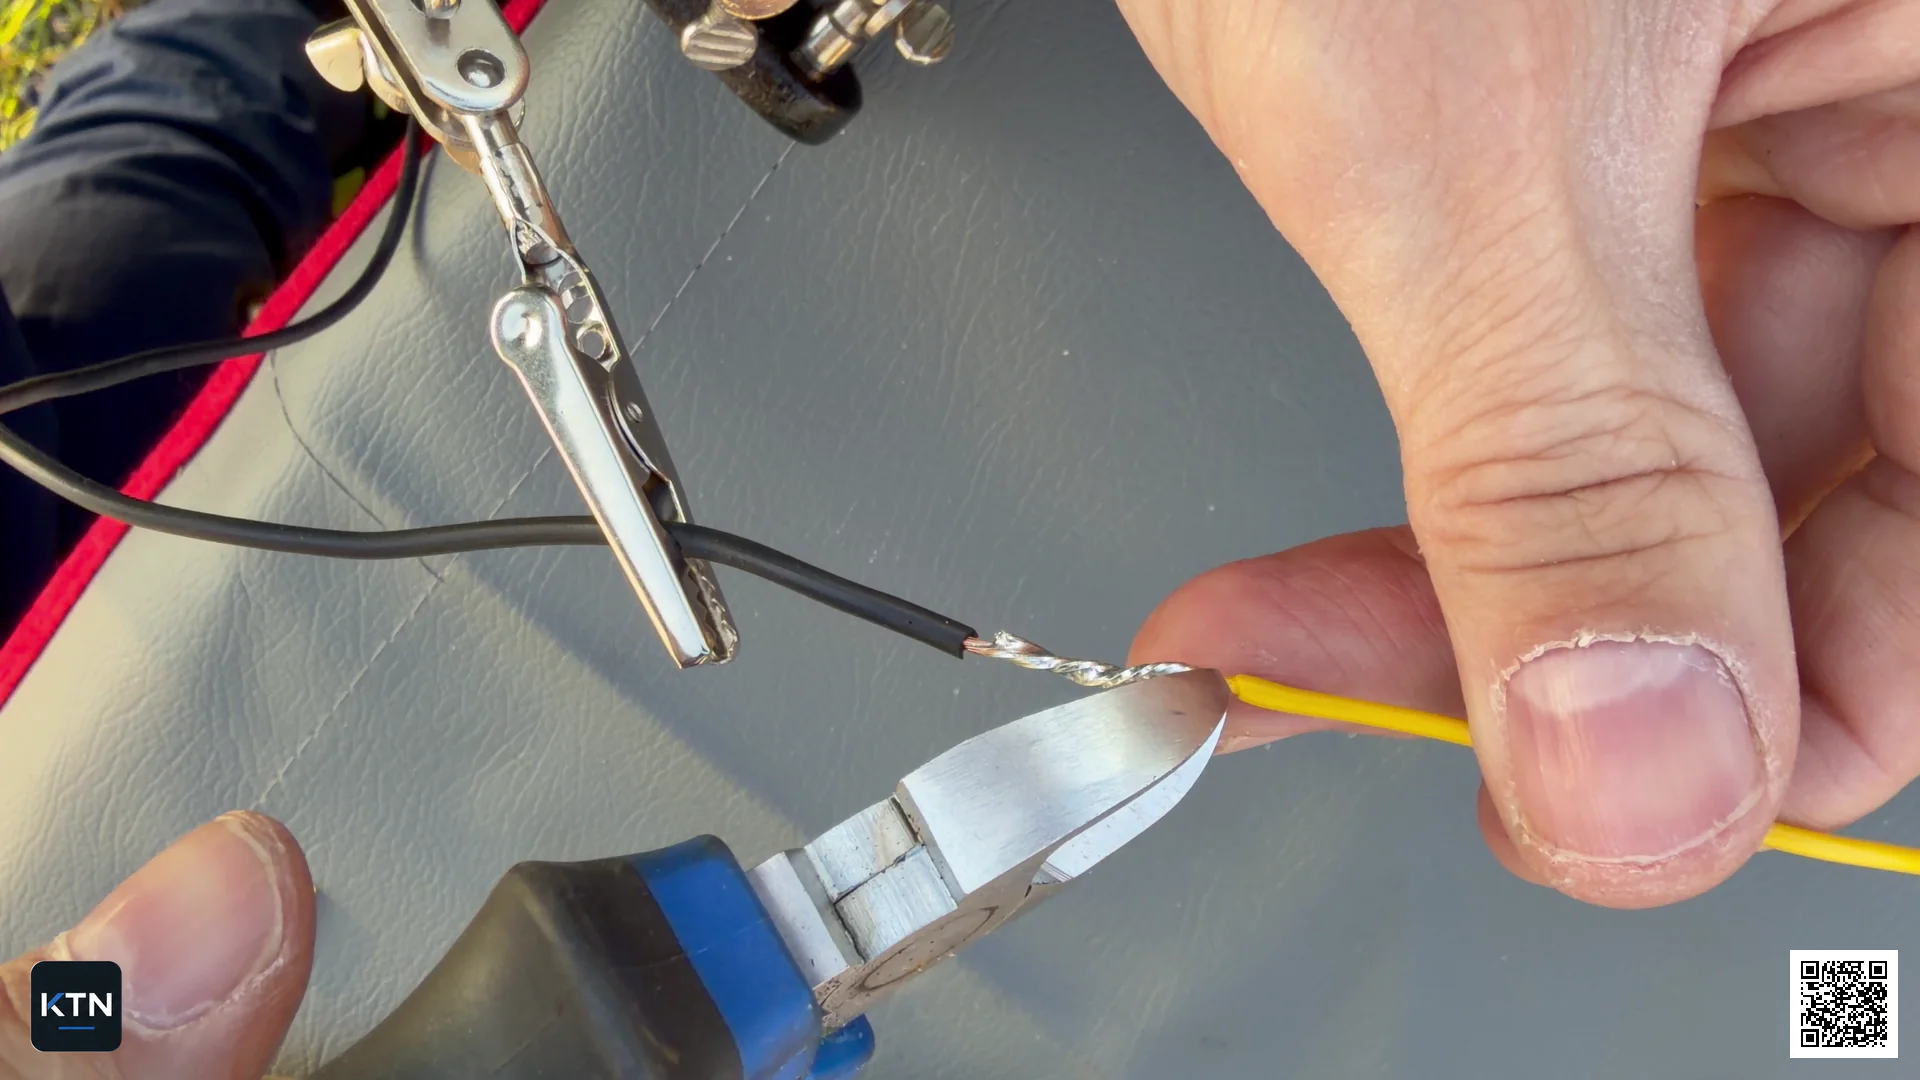
Once the splice has been soldered, I feel for sharp strand ends or uneven areas.
If a copper strand is protruding, I carefully trim it off. This makes the surface smoother and reduces the risk of a sharp edge later damaging the heat-shrink tubing.
Heat-shrink tubing
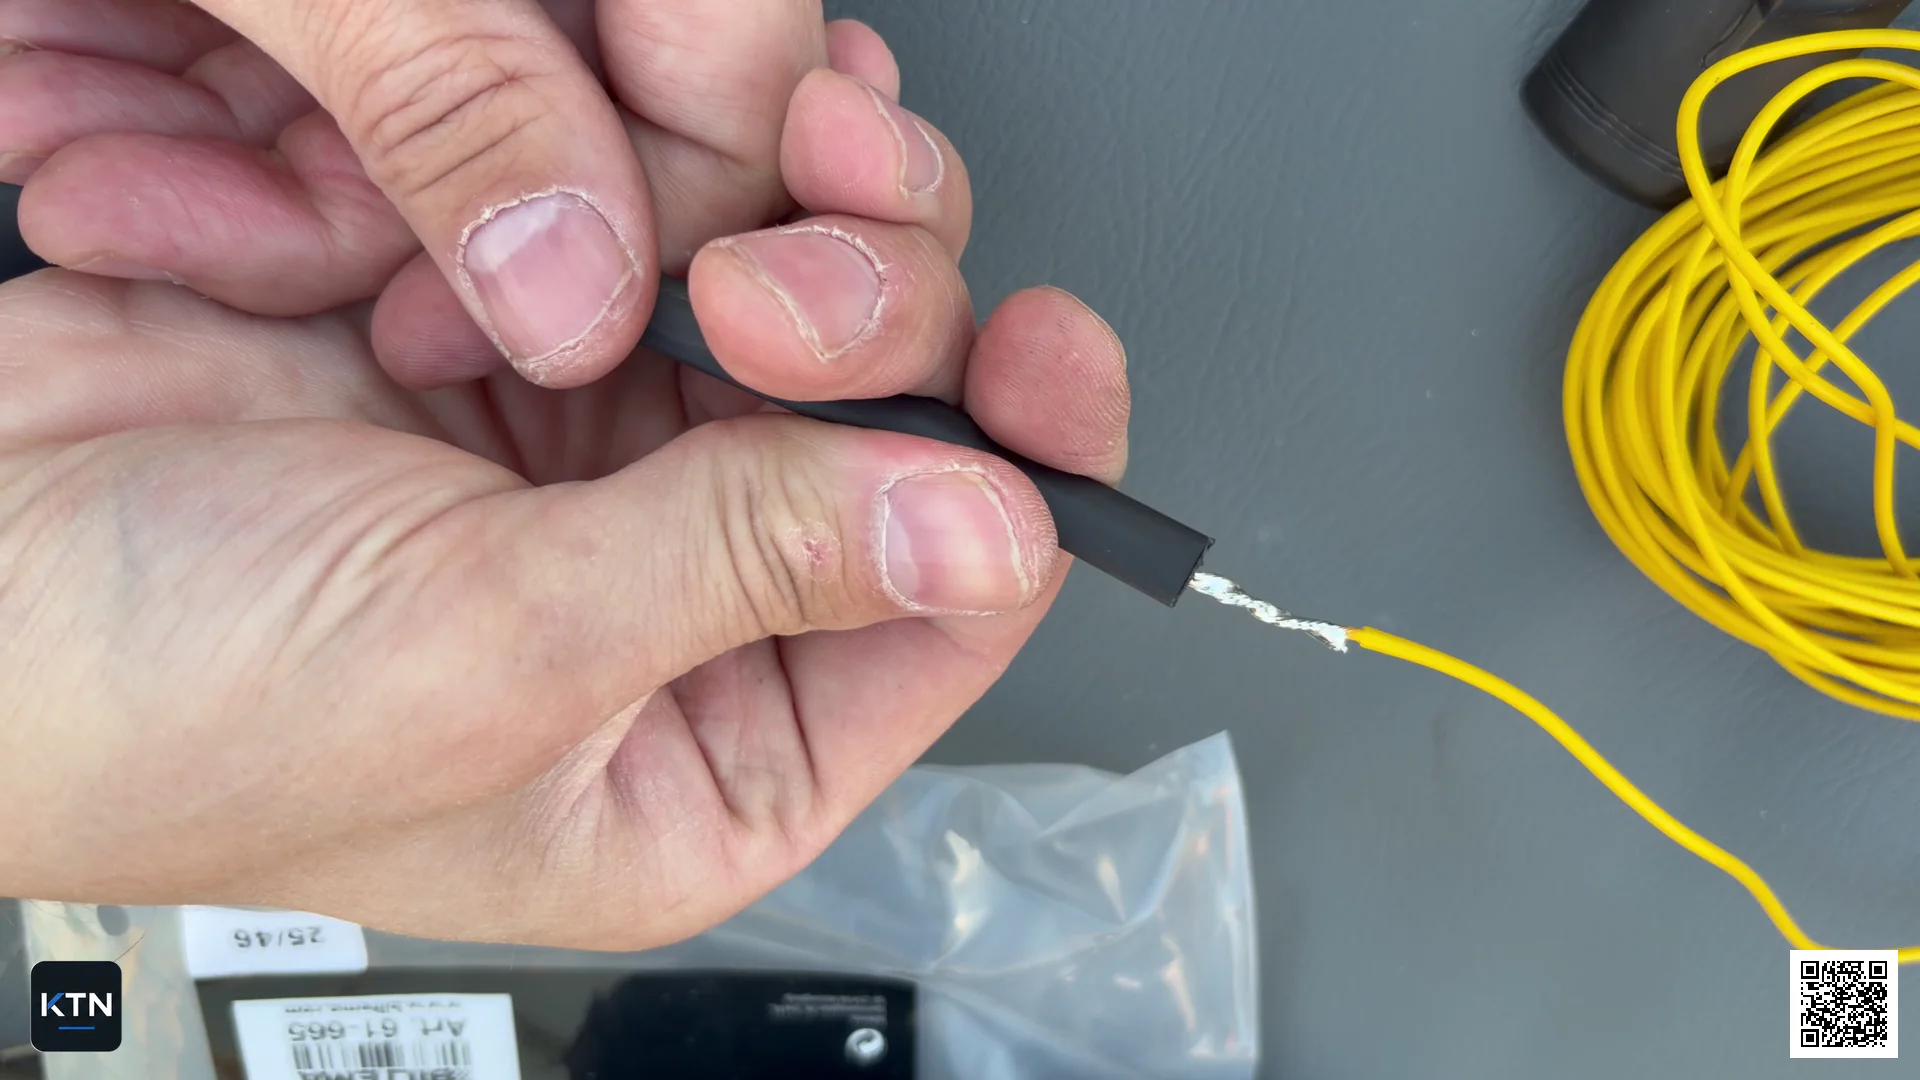
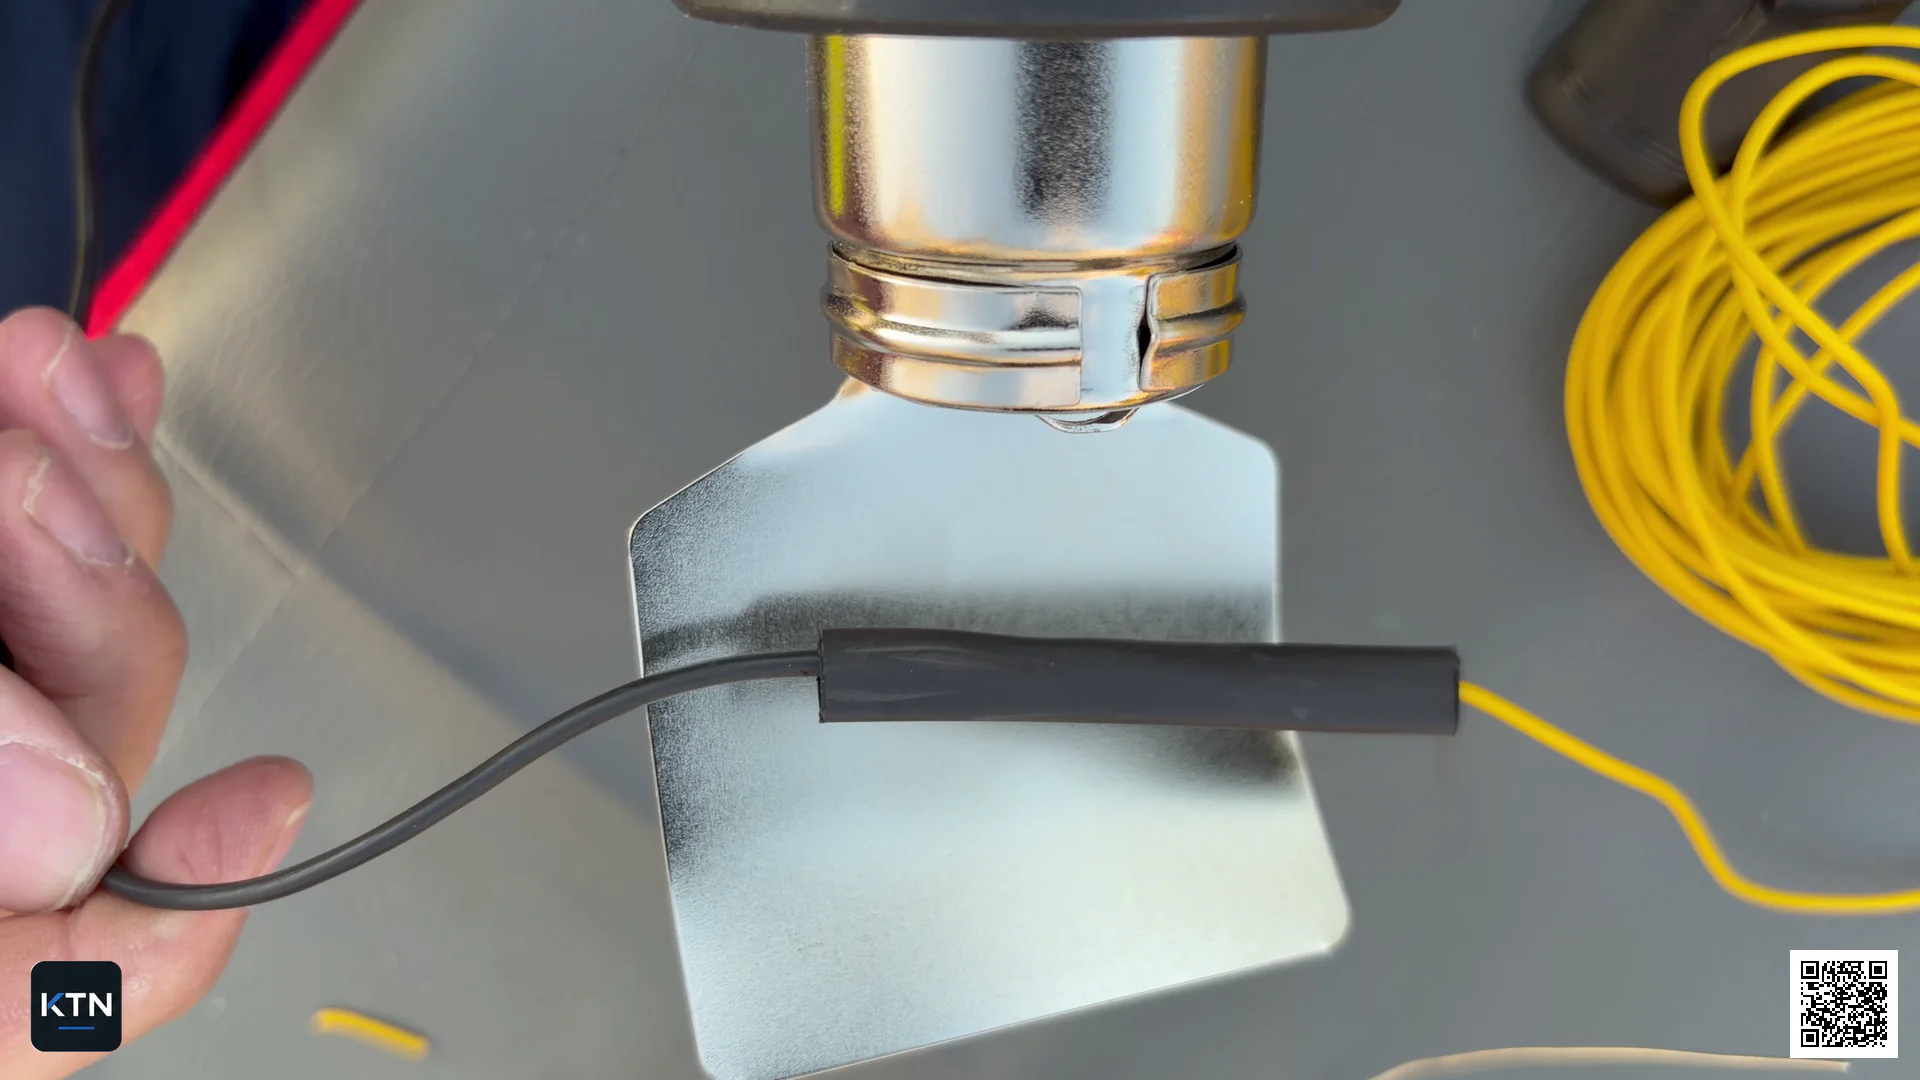
Finally, I slide the heat-shrink tubing over the splice and shrink it with a heat gun.
I prefer a heat gun to a lighter or an open flame. It gives me better control over the heating and makes it easier to shrink the tubing evenly without overheating the wire or the heat-shrink tubing.
Result
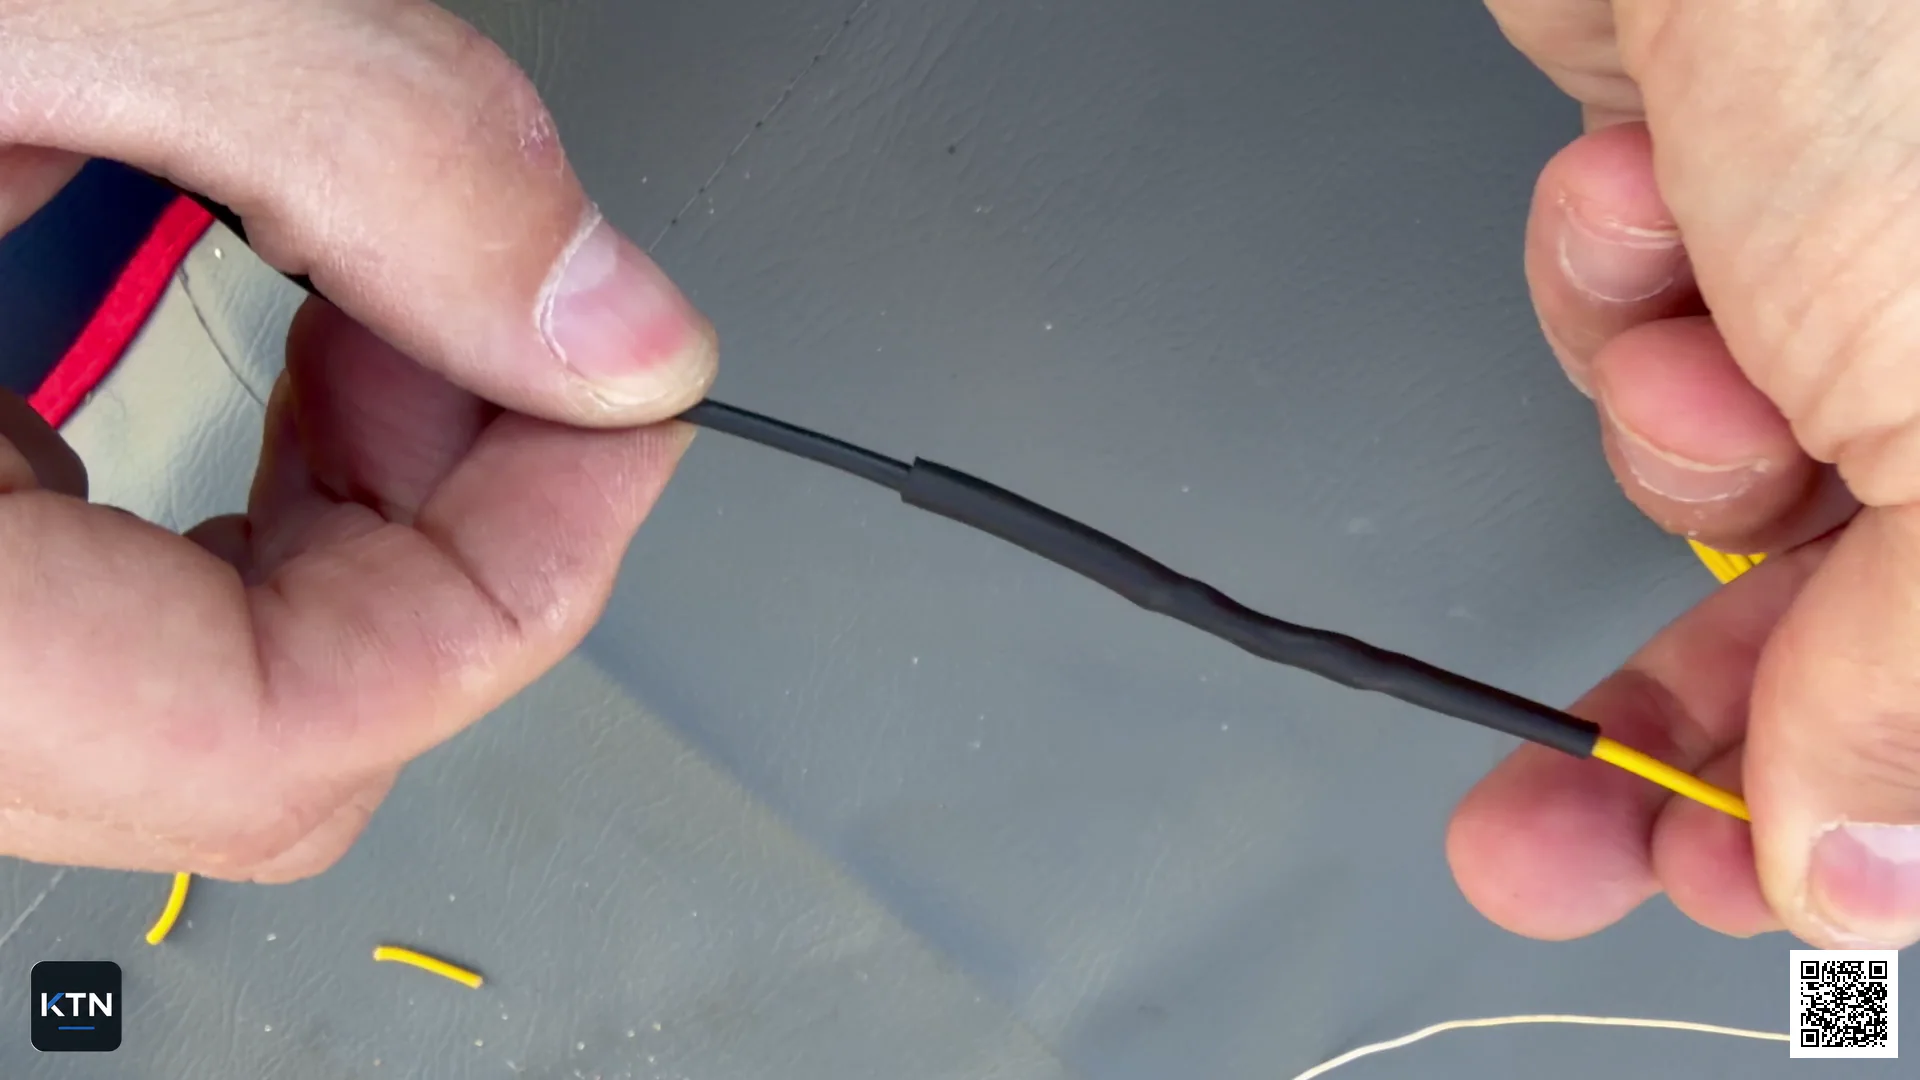
The finished splice should be mechanically neat, well soldered and free from sharp edges beneath the heat-shrink tubing.
This is the method I usually use for smaller wire repairs where soldering is a suitable solution.